Teach Kids How to Plant 3 Vegetables in a Pot
Gardening is a fun and educational activity for kids, teaching them responsibility, patience, and the importance of nature. A great way to start is by planting vegetables in a pot—it’s simple, space-efficient, and rewarding. In this guide, we’ll teach kids how to grow three easy vegetables: cherry tomatoes, radishes, and lettuce. These plants grow quickly, making them perfect for young gardeners.

Materials Needed
Before starting, gather these supplies:
- A large pot (at least 12 inches deep with drainage holes)
- High-quality potting soil
- Seeds (cherry tomatoes, radishes, and lettuce)
- A small trowel or spoon for digging
- Watering can or spray bottle
- Sunny spot (balcony, patio, or windowsill with 6+ hours of sunlight)

Step 1: Prepare the Pot
- Choose the Right Pot – Ensure the pot is big enough for all three plants. A wide, deep container works best.
- Add Drainage Holes – If the pot doesn’t have holes, poke a few at the bottom to prevent waterlogging.
- Fill with Soil – Use nutrient-rich potting soil, leaving about an inch of space at the top.
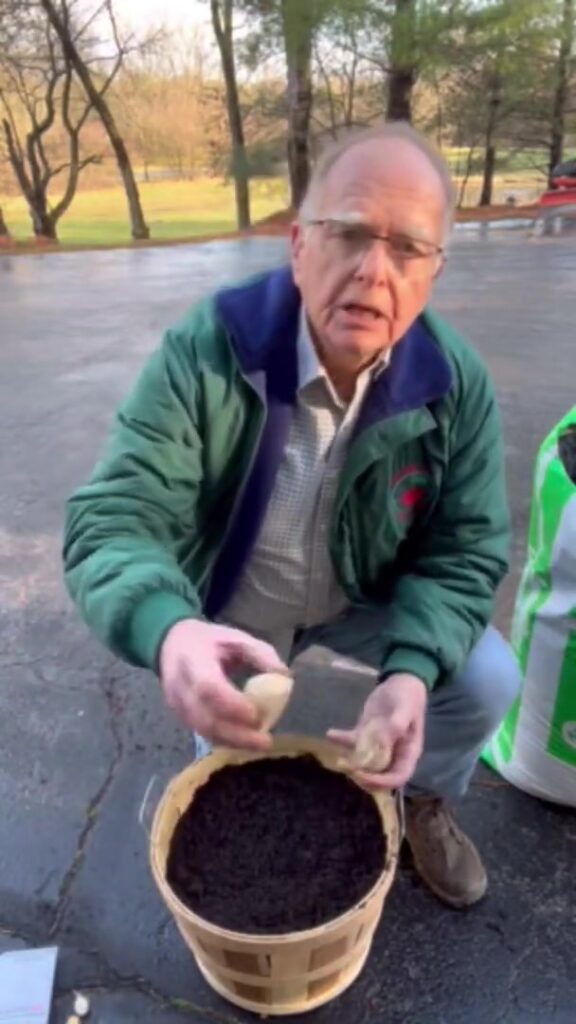
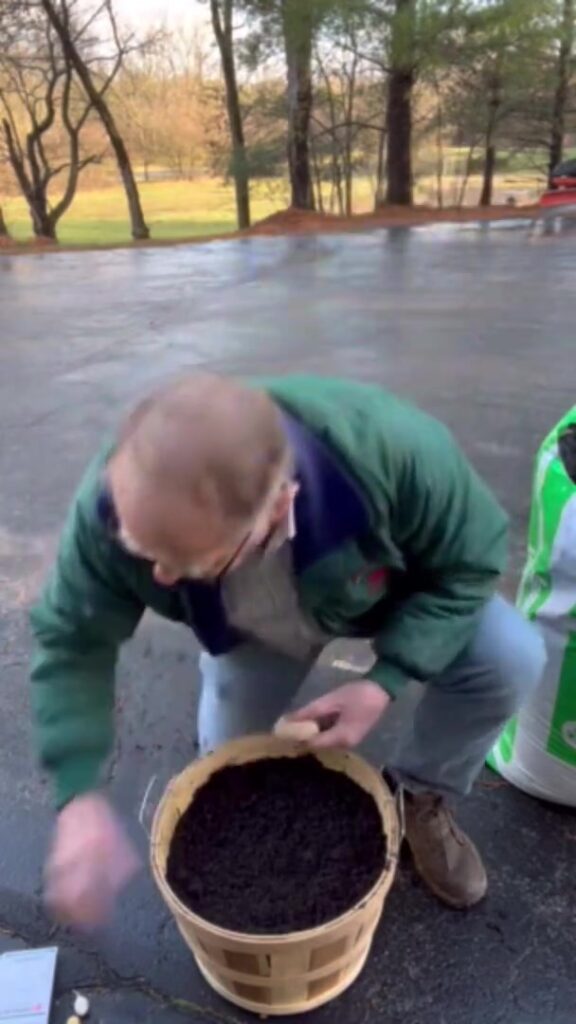
Step 2: Planting the Seeds
Each vegetable has slightly different needs, so we’ll plant them in sections.
Cherry Tomatoes (Sweet and Easy to Grow!)
- Planting – Make a small hole about ¼ inch deep near the back of the pot (tomatoes grow tall).
- Drop 2-3 Seeds – Cover lightly with soil and pat gently.
- Water Lightly – Use a spray bottle to moisten the soil without washing away the seeds.
Tip: If starting with a small seedling instead of seeds, plant it deeper so roots grow stronger.
Radishes (Fast and Fun!)
- Planting – Make shallow holes (½ inch deep) in a separate section of the pot.
- Space Them Out – Plant 4-5 radish seeds, spacing them an inch apart.
- Cover and Water – Lightly cover with soil and mist with water.
Fun Fact: Radishes grow in just 3-4 weeks!
Lettuce (Great for Salads!)
- Planting – Scatter lettuce seeds over the soil in the remaining space.
- Light Covering – Press them gently into the soil (they need light to germinate).
- Mist with Water – Keep the soil moist but not soaked.
Tip: Lettuce grows quickly, and you can pick leaves as they grow!
Step 3: Caring for the Plants
Now that the seeds are planted, help kids take care of them:
Watering
- Keep Soil Moist – Check daily; if the top feels dry, water lightly.
- Avoid Overwatering – Too much water can rot the roots.
Sunlight
- Place in a Sunny Spot – Vegetables need at least 6 hours of sunlight daily.
- Rotate the Pot – If one side gets more sun, turn the pot occasionally for even growth.
Thinning Seedlings
Once sprouts appear (in 1-2 weeks), some may be too crowded:
- Tomatoes – Keep the strongest seedling, remove extras.
- Radishes – Thin so they’re 2 inches apart.
- Lettuce – Thin overcrowded sprouts to prevent competition.
Step 4: Watch Them Grow!
Kids will love seeing progress each day:
- Radishes – Ready in 3-4 weeks; pull them when the top peeks out.
- Lettuce – Start picking leaves in 4-5 weeks.
- Tomatoes – Will grow taller; may need a small stick for support. Harvest when red and firm (about 8-10 weeks).

Step 5: Harvest and Enjoy!
The best part is eating what they grew!
- Make a Salad – Combine lettuce, radishes, and cherry tomatoes.
- Share with Family – Kids will feel proud of their gardening success.
Why This Activity is Great for Kids
- Teaches Responsibility – They must water and care for their plants.
- Encourages Healthy Eating – Kids are more likely to eat veggies they grew.
- Science Learning – They observe plant life cycles firsthand.
Final Tips
- Start in spring or summer for best growth.
- If indoors, use a grow light if sunlight is limited.
- Try different veggies next time (carrots, beans, or herbs).
Conclusion
Planting vegetables in a pot is a simple, rewarding project for kids. By growing cherry tomatoes, radishes, and lettuce, they’ll learn gardening basics while enjoying fresh, homegrown food. Grab a pot, some seeds, and let the growing fun begin!