Grow Microgreens at Home in 7 Days
Microgreens are nutrient-packed young plants harvested just after they develop their first true leaves. These tiny greens are not only delicious and colorful but also incredibly easy to grow at home — even in small spaces. With just a few basic supplies, you can enjoy a fresh batch of microgreens in only 7 days. Here’s how to do it.
What Are Microgreens?
Microgreens are young seedlings of vegetables and herbs such as broccoli, radish, kale, mustard, arugula, and basil. They’re more developed than sprouts but harvested earlier than baby greens. Despite their size, they often contain more concentrated nutrients than their mature counterparts. This makes them a popular choice for health-conscious individuals and gourmet chefs alike.
Supplies You’ll Need
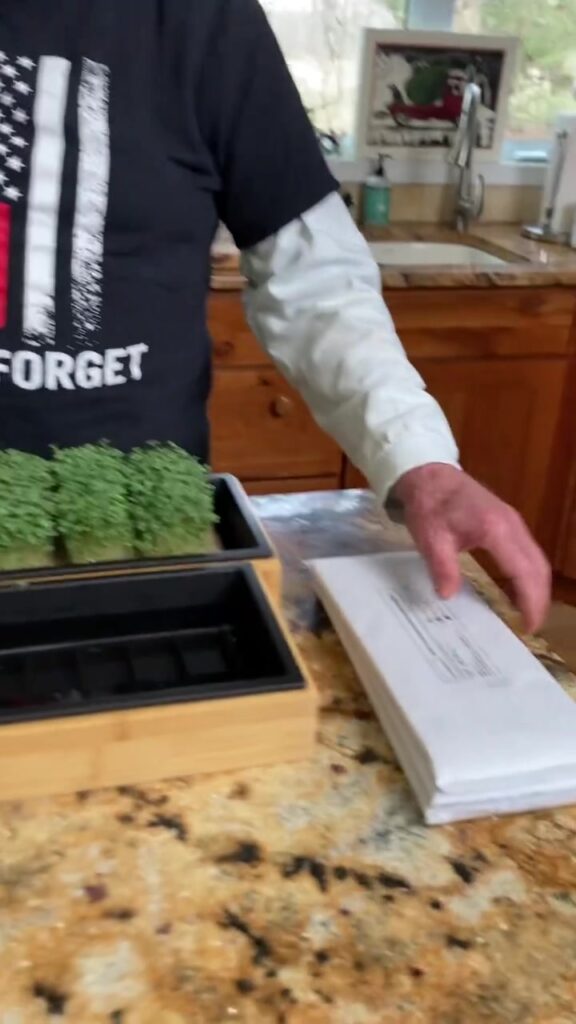
To grow microgreens at home, you don’t need much. Here’s what you should gather:
- Seeds: Choose high-quality, organic seeds designed for microgreens. Popular options include sunflower, radish, pea shoots, and broccoli.
- Shallow container or tray: A recycled plastic food container or seed tray works well. Make sure it has drainage holes.
- Growing medium: You can use seed-starting soil mix, coconut coir, or even a damp paper towel.
- Spray bottle: For watering without disturbing the seeds.
- Light source: A sunny windowsill or a grow light will work just fine.
Day-by-Day Growing Guide
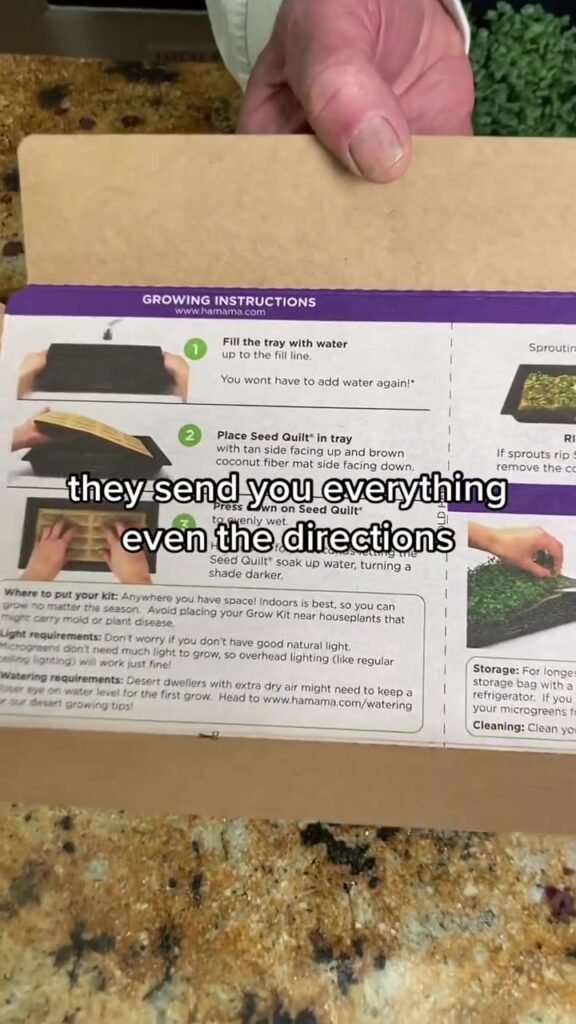
Day 1: Prepare and Plant
Start by soaking your seeds (optional, but recommended for larger seeds like sunflower or peas) for 6–12 hours. Fill your tray with about 1–2 inches of your growing medium and level it gently. Sprinkle the seeds evenly over the surface and press them lightly into the medium. Mist thoroughly with a spray bottle. Cover the tray with a lid or another tray to block out light and help retain moisture.
Day 2–3: Germination
Keep the seeds in a dark, warm place. Check daily and mist as needed to keep the surface damp but not soaked. By the end of day 3, you should see most of the seeds sprouting tiny roots and shoots.
Day 4: Uncover and Light
Once the seeds have germinated and the shoots are about an inch tall, remove the cover and expose the tray to light. Place it on a bright windowsill or under a grow light. This step is crucial for helping the plants develop their green color through photosynthesis.
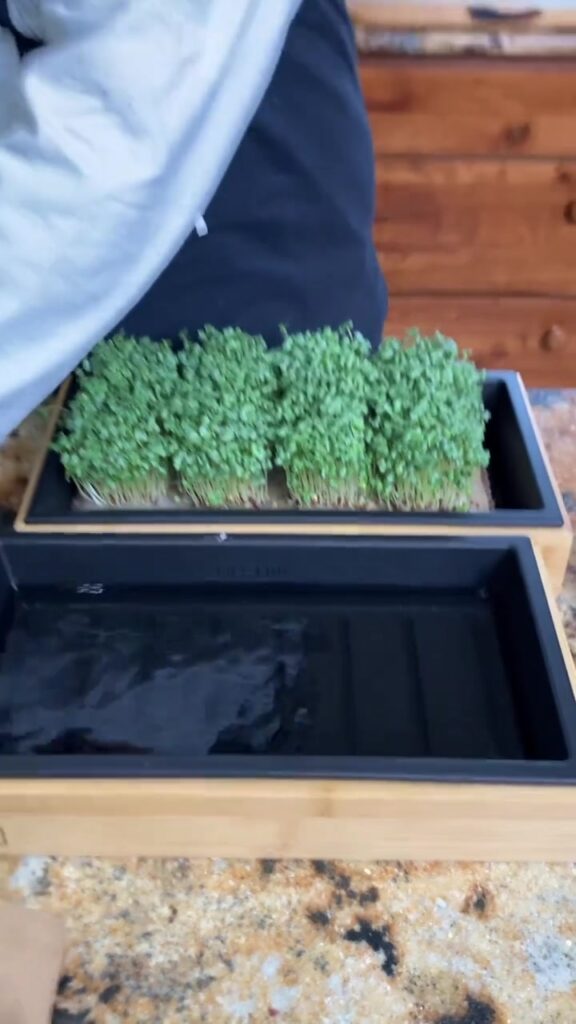
Day 5–6: Growth Phase
Your microgreens will grow rapidly now. Continue to mist them regularly, usually once or twice a day. Make sure they’re getting enough light—about 12–16 hours per day. Rotate the tray if needed to ensure even growth.
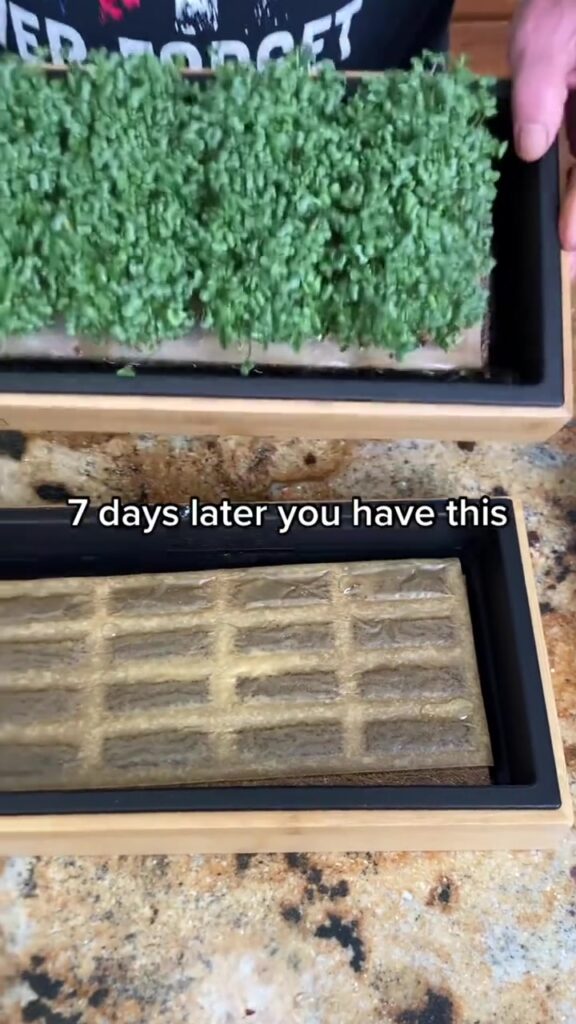
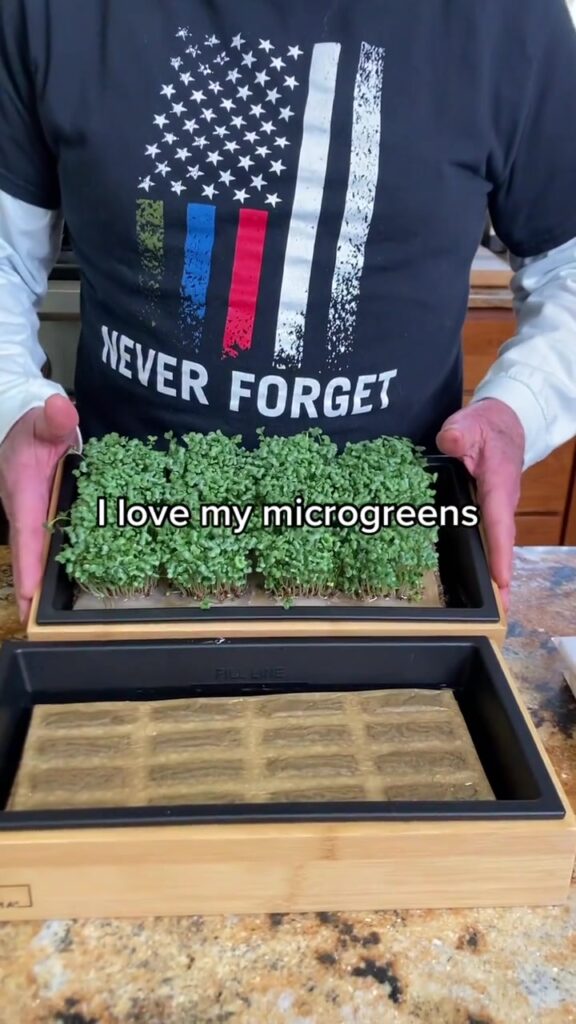
Day 7: Harvest Time
By day 7, most microgreens will be ready to harvest. Use clean scissors to cut the stems just above the soil line. Rinse gently, pat dry, and enjoy! You can store them in the refrigerator for up to a week in an airtight container, although they’re best eaten fresh.
Tips for Success
- Avoid overwatering; excess moisture can lead to mold.
- Use a fan or ensure good air circulation to prevent damping off (a fungal condition).
- Experiment with different seed varieties to find your favorites.
- Reuse your trays after cleaning and sterilizing them thoroughly.
Final Thoughts
Growing microgreens at home is simple, fast, and incredibly rewarding. In just a week, you can enjoy homegrown greens that enhance your meals and boost your nutrition. Whether you’re a beginner gardener or a seasoned plant lover, microgreens are a fun and satisfying way to bring fresh produce into your kitchen year-round.