Planting Second Batch of Microgreens at Home
After the successful harvest of your first batch of microgreens, you’re probably eager to get started on the second round. Planting a second batch of microgreens at home is a rewarding step toward maintaining a continuous supply of these nutrient-packed greens. With the experience gained from the first grow, you’re now better equipped to fine-tune the process, optimize growing conditions, and perhaps even experiment with new varieties.
Why Plant a Second Batch?
One of the joys of growing microgreens is their rapid growth cycle. Most varieties are ready to harvest within 7–14 days, making them perfect for successive planting. By planting a second batch, you maintain a fresh supply of greens for your kitchen. Moreover, you can use the insights from your first grow—such as what germinated best, which flavors you liked most, and how light or water affected growth—to improve your setup and yield.
Preparing for the Second Planting
Start by evaluating the supplies and equipment you used the first time. If you used plastic trays or shallow containers, make sure they are thoroughly cleaned and sanitized before reuse. Residual soil and organic matter can harbor mold or bacteria that could affect your next batch. A solution of water and vinegar or a mild bleach mixture (1:10 ratio with water) is effective for sterilizing trays.
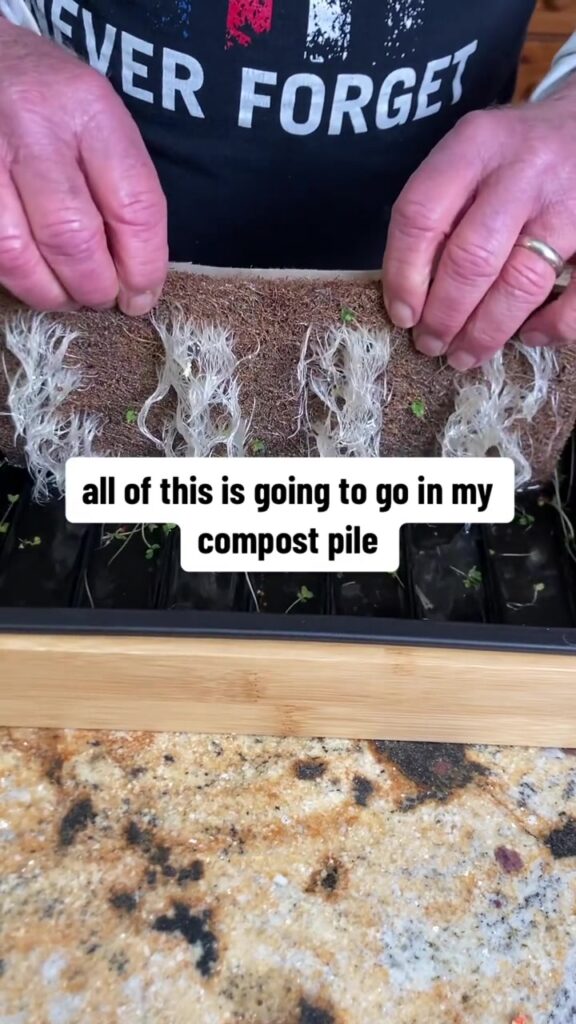
If you grew your first batch in soil, you can either compost the used medium or, in some cases, reuse it by removing old roots and mixing it with fresh potting mix. However, many growers prefer to start with fresh growing medium to ensure optimal nutrient levels and cleanliness.
Selecting Seeds for the Second Round
You might be tempted to stick with the same varieties, but planting a second batch gives you the chance to try something new. Some popular microgreens to consider include:
- Sunflower: Crunchy and nutty
- Radish: Spicy and crisp
- Pea shoots: Sweet and tender
- Broccoli: Mild flavor with powerful health benefits
- Basil: Aromatic and perfect for garnishes
You can also blend different seeds for a salad mix or pick based on seasonality or taste preferences. Ensure you’re using high-quality, untreated seeds meant for sprouting or microgreen production.
Optimizing Growing Conditions
Microgreens thrive in consistent conditions. They typically need:
- Light: A sunny windowsill or LED grow light
- Moisture: Regular but gentle misting to keep the soil damp
- Temperature: Between 65–75°F (18–24°C)
- Airflow: Proper ventilation to prevent mold
Since you’ve already tested your growing environment, make any adjustments as needed. For instance, if your first batch grew leggy (tall and weak), you may need to increase light exposure. If mold was an issue, increase airflow or reduce humidity.
Staggering Plantings for Continuous Harvest
One pro tip is to stagger your second batch into smaller trays and plant a new one every few days. This method ensures you always have fresh microgreens ready for harvest rather than waiting a full two weeks between crops. It’s a simple way to bring consistency to your microgreen supply.
Conclusion
Planting a second batch of microgreens at home is not just about growing more—it’s about refining your technique and getting closer to a sustainable, healthy lifestyle. With minimal space and effort, you can enjoy a rotating crop of fresh, flavorful greens right from your kitchen counter or windowsill. Whether you’re aiming to supplement your diet or just enjoy the satisfaction of growing food, your second batch is another step forward on your home gardening journey.


