Storing My Organic Non-GMO Microgreens
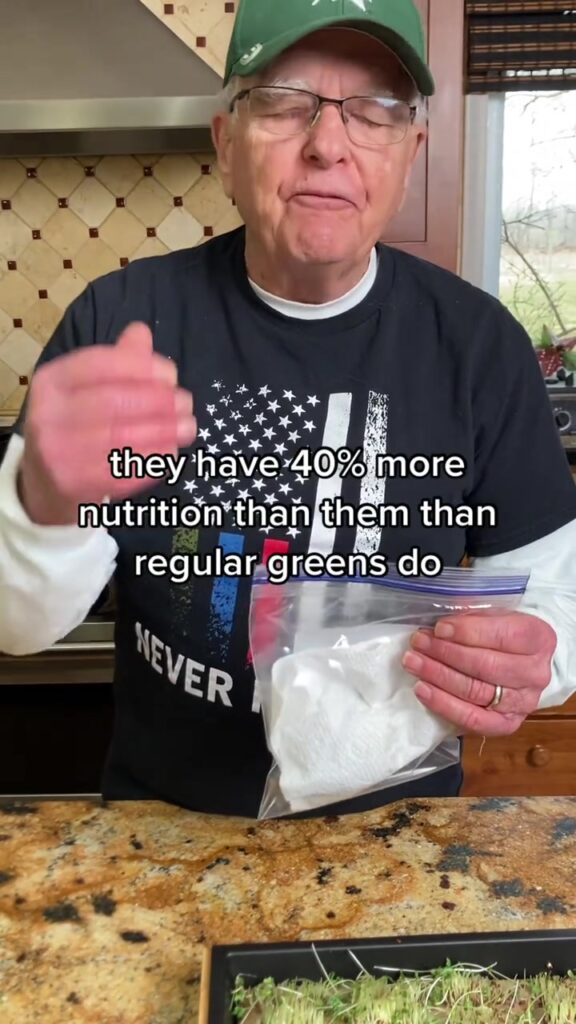
Microgreens have become a staple in my kitchen—not just for their vibrant colors and intense flavors, but for their dense nutritional value. Growing my own organic, non-GMO microgreens has been a rewarding journey, but learning how to store them properly has been equally important. These delicate greens can spoil quickly if not handled correctly, so I’ve developed a method that preserves their freshness, texture, and nutritional value for as long as possible.
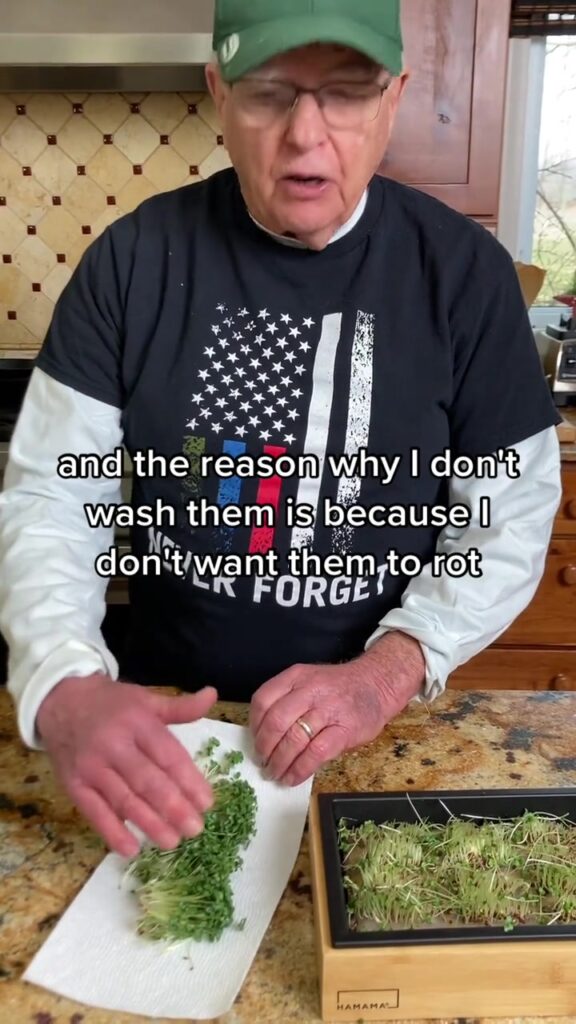
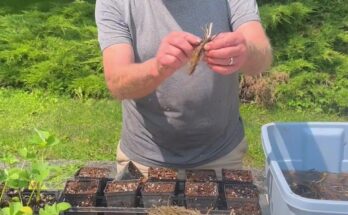
The first step in proper microgreen storage starts right after harvest. I harvest them using clean scissors or a sharp knife, cutting just above the soil line to avoid contamination. Immediately after harvesting, I gently shake off any debris or loose soil particles. Since microgreens are extremely tender, I avoid rough washing at this point unless absolutely necessary. If I do need to rinse them, I do so in cool, filtered water and dry them thoroughly using a salad spinner followed by air drying on a clean towel.
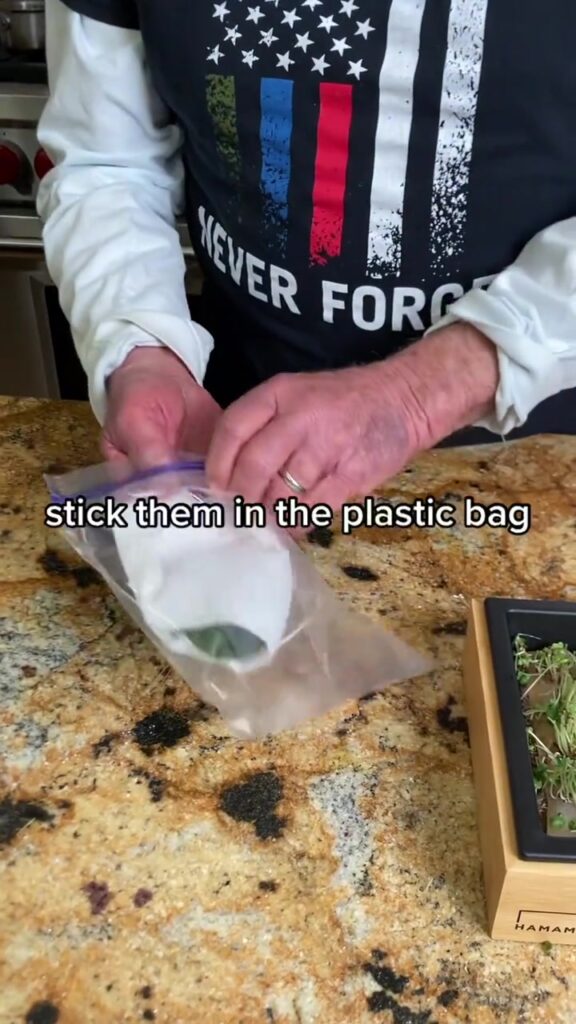
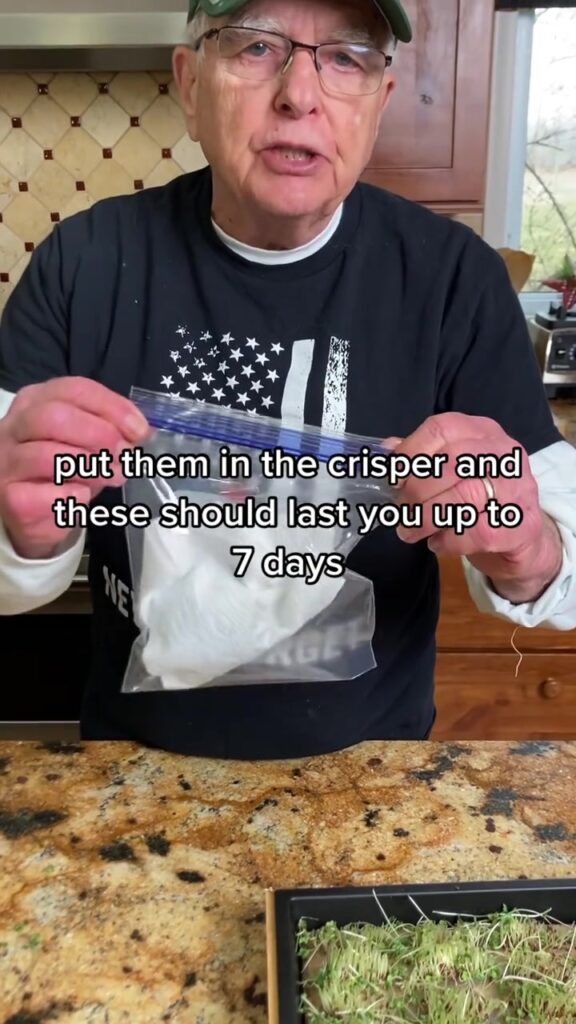
Drying the greens is crucial. Excess moisture is the enemy of freshness when it comes to microgreens. If stored wet, they will begin to rot within a day or two. Once completely dry, I store them in breathable containers. While many people use plastic containers with tight-fitting lids, I prefer using reusable glass containers lined with a dry paper towel to absorb any residual moisture. The towel acts as a buffer and helps maintain an optimal humidity level inside the container.
Temperature also plays a critical role. I keep my microgreens in the crisper drawer of my refrigerator, which maintains a stable temperature and humidity level. It’s important not to store them near the back of the fridge, where it can be too cold and potentially freeze the greens, causing them to wilt and lose texture. Stored properly, most of my microgreens—such as sunflower, radish, pea shoots, and broccoli—stay fresh for up to 5 to 7 days.
Another key to freshness is minimizing air exposure. I press out as much air as possible before sealing the container, especially if I’m using a zip-lock style bag. Vacuum sealing is an option for longer-term storage, but it can sometimes compress the delicate greens too much, so I only use that method when storing hardier varieties.
Labeling my containers with the harvest date helps me keep track of freshness and ensures I use the oldest microgreens first. I also try not to overstock my fridge with harvested greens; instead, I harvest in small batches every few days to maintain a steady supply of fresh produce without waste.
There are a few types of microgreens that store better than others. Pea shoots, for instance, tend to hold up well under refrigeration, whereas basil and cilantro microgreens are more sensitive and should ideally be eaten within 2–3 days of harvest. I plan my growing schedule around these differences so that I always have something fresh and vibrant to add to meals.
Storing microgreens properly takes a bit of practice, but it’s well worth the effort. By keeping my storage containers clean, managing moisture levels, and maintaining the right temperature, I’m able to enjoy crisp, flavorful, and nutritious greens throughout the week. It’s a small but significant part of my commitment to a healthy lifestyle and sustainable food practices. There’s nothing quite like knowing that the food on my plate is not only homegrown and chemical-free but also lovingly preserved at its peak.