

This Is How I Grew My Sweet Corn!
Growing sweet corn was always something I wanted to try, but I never thought it would be so rewarding. This summer, I decided to finally take the plunge and plant my own crop. With a little research, some patience, and a lot of excitement, I ended up harvesting a delicious bounty of sweet corn that I grew myself. Here’s exactly how I did it.
Choosing the Right Variety
The first step in my sweet corn journey was choosing the right variety. There are several types of sweet corn—standard (SU), sugar-enhanced (SE), and supersweet (SH2). I went with a sugar-enhanced variety called ‘Bodacious’ because it has a great balance of sweetness and tenderness. It also has good germination and grows well in home gardens.
Preparing the Soil
Corn is a heavy feeder, so I knew I had to start with nutrient-rich soil. I picked a sunny spot in my backyard that gets at least 6-8 hours of sunlight a day. I tilled the soil deeply and mixed in a generous amount of compost and aged manure. Corn thrives in well-drained, loamy soil, so I made sure the area wasn’t compacted and had good drainage.
Planting the Seeds
I planted my corn seeds directly in the garden after the last frost. Sweet corn doesn’t transplant well, so direct sowing is the way to go. I planted the seeds about 1 to 1.5 inches deep and 8-10 inches apart. One crucial thing I learned is to plant corn in blocks rather than single rows. Corn is wind-pollinated, and planting in blocks increases the chances of good pollination.
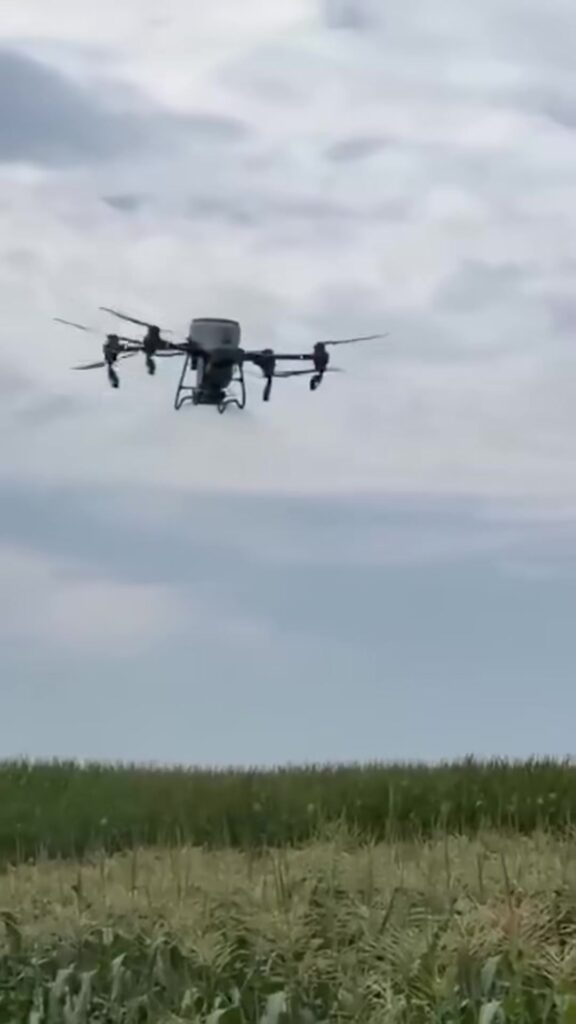
Watering and Fertilizing
Corn needs consistent moisture, especially during germination and when the ears are forming. I watered the plants deeply once or twice a week, depending on the weather. During dry spells, I watered more frequently. I also applied a balanced fertilizer a few times throughout the growing season, especially once the plants were knee-high.
Controlling Weeds and Pests
Keeping the corn patch weed-free was a challenge, but mulching helped a lot. I used straw mulch around the base of the plants to suppress weeds and retain moisture. As for pests, I kept an eye out for corn earworms and aphids. I used neem oil spray sparingly, and I hand-picked any worms I found. Regularly inspecting the plants really made a difference.
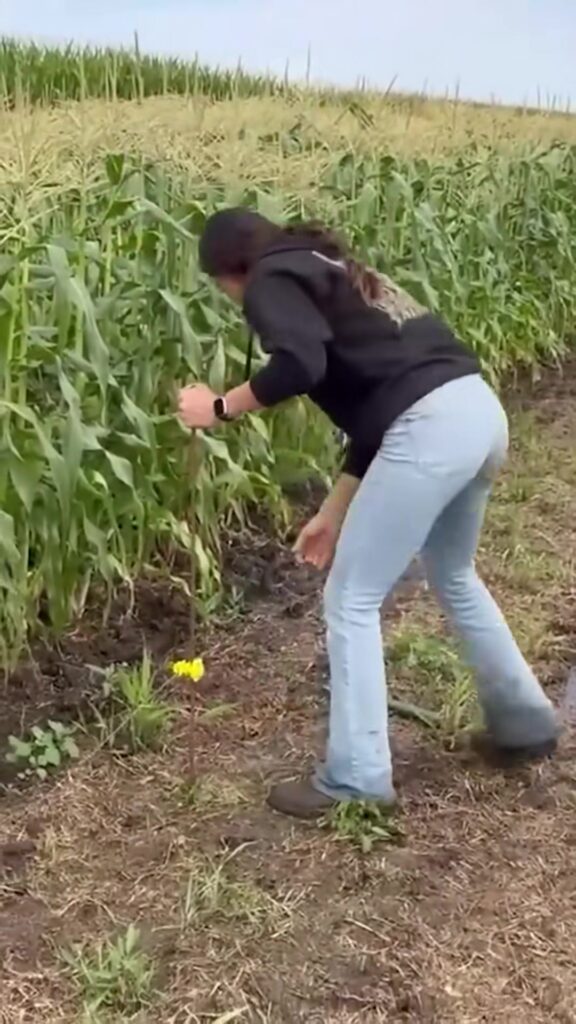
Harvesting Time
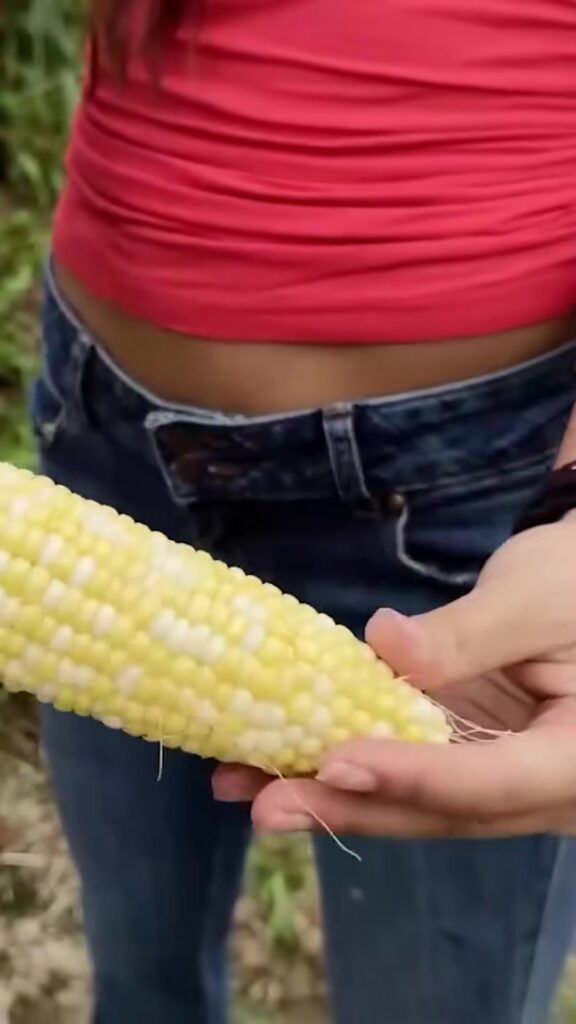
About 70 days after planting, I noticed the silks on the ears started turning brown, which is a good sign the corn is ready to harvest. I gently peeled back the husk of one ear and checked the kernels—they were plump and released a milky liquid when pressed. That’s when I knew it was time! I twisted the ears off the stalks and rushed them to the kitchen.
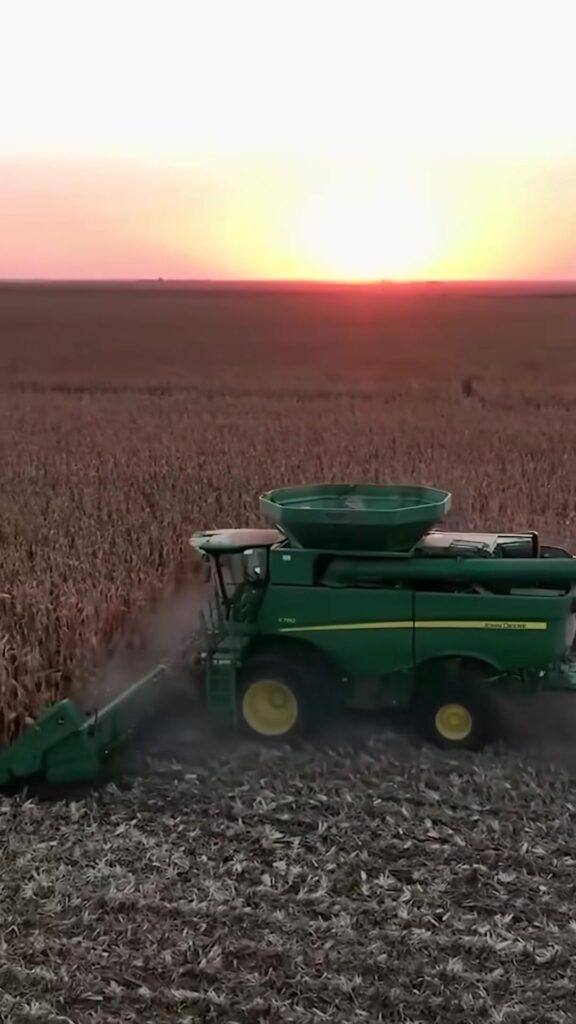
The Reward
There’s nothing like the taste of homegrown sweet corn. The ears were juicy, sweet, and full of flavor. We boiled some, grilled others, and even froze a few for later. Growing sweet corn took some effort, but the reward was more than worth it. Now I can’t wait to grow it again next year.
If you’ve ever thought about growing your own sweet corn, I highly recommend giving it a shot. With the right preparation and care, you’ll be amazed at what you can grow in your own backyard!


Great job Your a very hard worker and I appreciate the effort you are putting in Happy birthday tomorrow and keep up the good work 💐