Spraying Tomatoes For Blight
Tomato blight is one of the most frustrating problems for home gardeners. Just as your plants begin to thrive, you may notice yellowing leaves, dark spots, or a sudden collapse of healthy growth. Blight can quickly ruin an entire tomato crop if left unchecked. Fortunately, spraying your tomatoes with the right treatments at the right time can dramatically reduce the impact of blight.
Understanding how and when to spray for blight is essential to protect your tomato plants and ensure a bountiful harvest. Here’s what you need to know.
1. Know Your Enemy: Types of Blight
There are two main types of tomato blight: early blight and late blight.
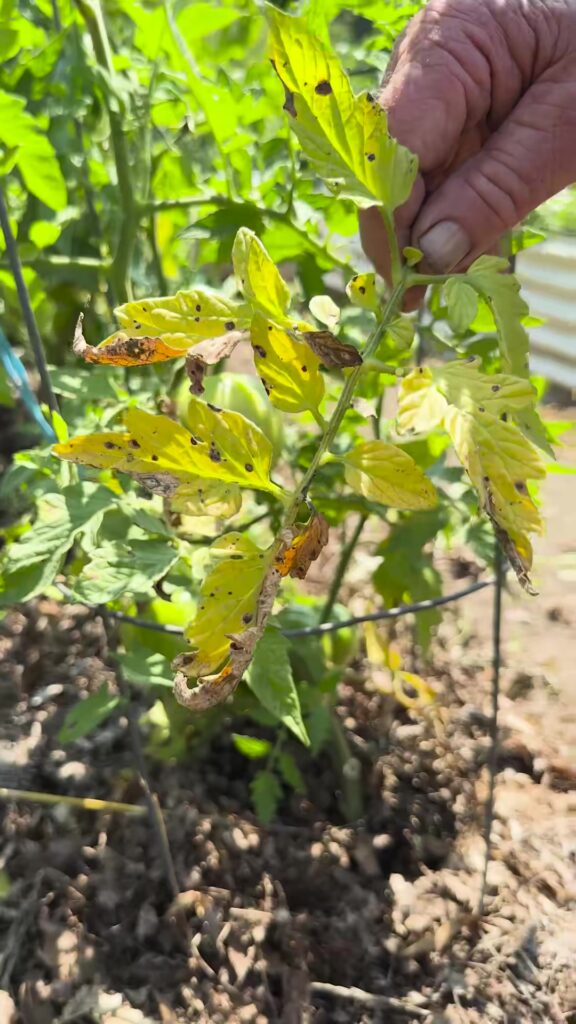
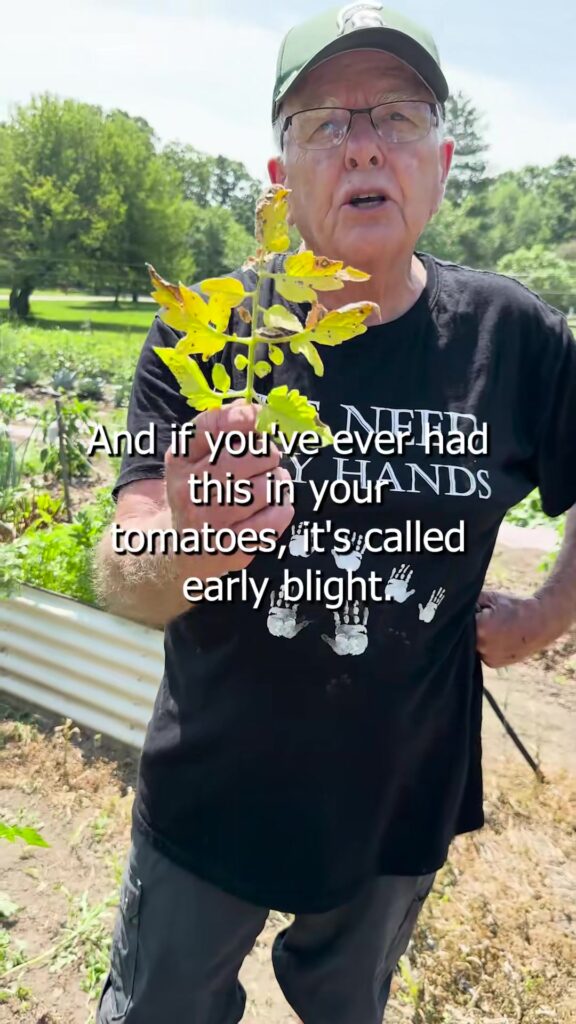
- Early blight is caused by the fungus Alternaria solani. It starts with small brown spots on the lower leaves that expand and develop concentric rings, giving them a target-like appearance. Leaves may yellow and drop prematurely.
- Late blight, caused by Phytophthora infestans, is much more serious. It spreads rapidly in cool, wet weather, causing dark, greasy lesions on leaves, stems, and fruit. This is the same disease responsible for the Irish Potato Famine and can devastate crops in days.
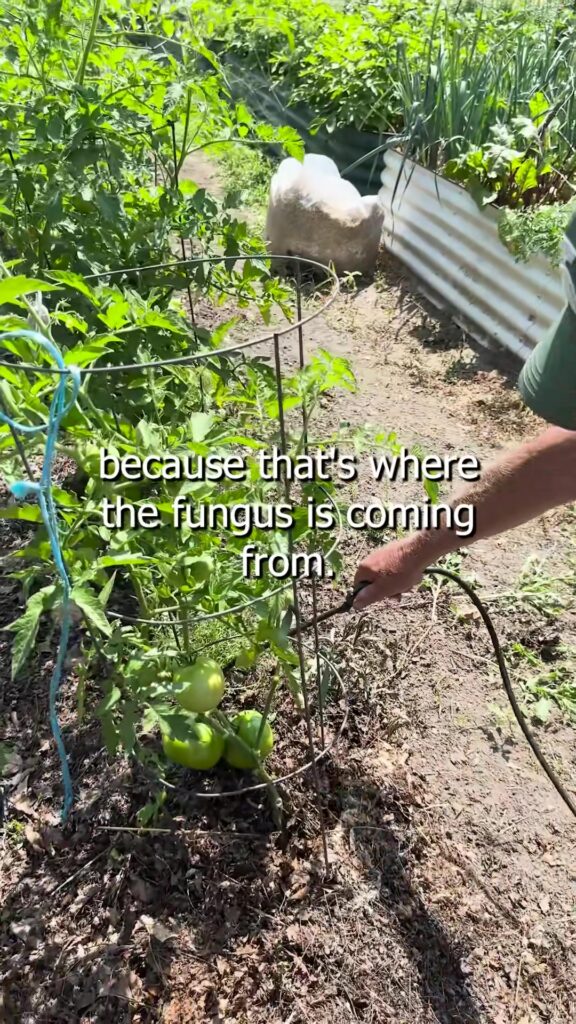
Both types of blight thrive in warm, humid conditions and are spread by water, wind, and contaminated tools or soil.
2. Prevention is the First Step
Before reaching for a spray bottle, it’s important to focus on prevention:
- Choose disease-resistant varieties whenever possible.
- Rotate crops annually to avoid soil-borne spores.
- Water at the base of plants to keep foliage dry.
- Mulch to prevent soil from splashing onto leaves.
- Provide good airflow by spacing plants properly and pruning lower leaves.
Despite your best efforts, blight can still appear—especially during rainy or humid seasons. That’s where spraying comes in.
3. Spraying Options: Organic and Conventional
There are several options for spraying tomatoes to prevent or manage blight.
Organic Sprays
- Copper fungicide: A widely used organic option that prevents fungal spores from germinating. Apply every 7–10 days during wet weather.
- Neem oil: An all-purpose organic pesticide and fungicide. Best used as a preventative or early treatment.
- Baking soda spray: A homemade remedy (1 tsp baking soda + 1 quart water + a few drops of dish soap). It changes leaf pH, making it less hospitable for fungus.
- Compost tea: Rich in beneficial microbes that can outcompete pathogens.
Chemical Fungicides
- Chlorothalonil or Mancozeb: Effective conventional treatments. Always follow label instructions carefully.
- Systemic fungicides: These are absorbed by the plant and can offer longer protection. Use only if absolutely necessary, and avoid overuse to prevent resistance.
4. When and How to Spray
Timing is critical. Begin preventative spraying before symptoms appear, especially if conditions are favorable for blight. Once blight shows up, spraying can slow its spread but won’t reverse the damage.
Here are a few tips:
- Spray early in the morning or late in the evening to avoid leaf burn.
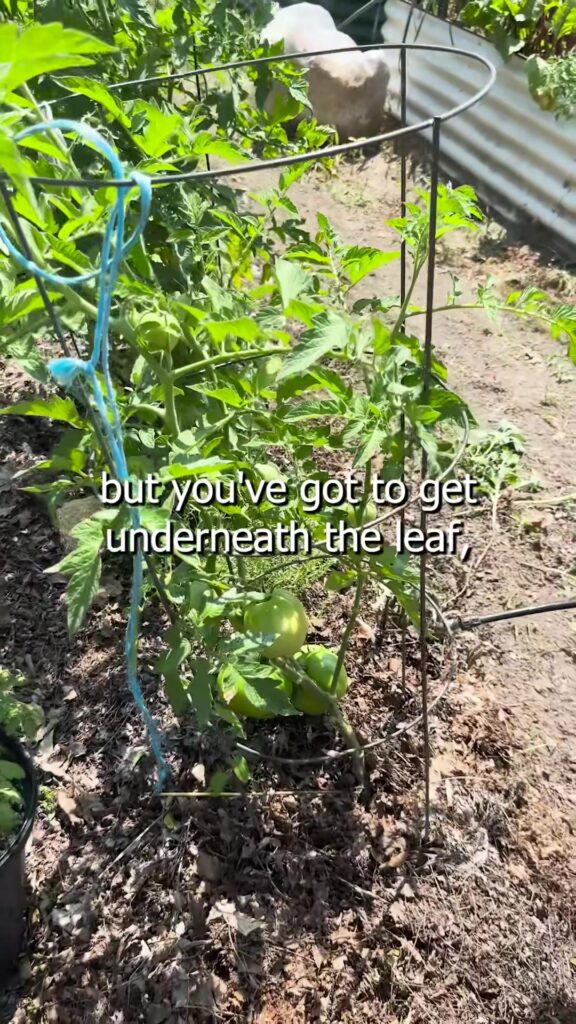
- Cover all plant surfaces, especially the undersides of leaves.
- Reapply after heavy rain, which can wash treatments away.
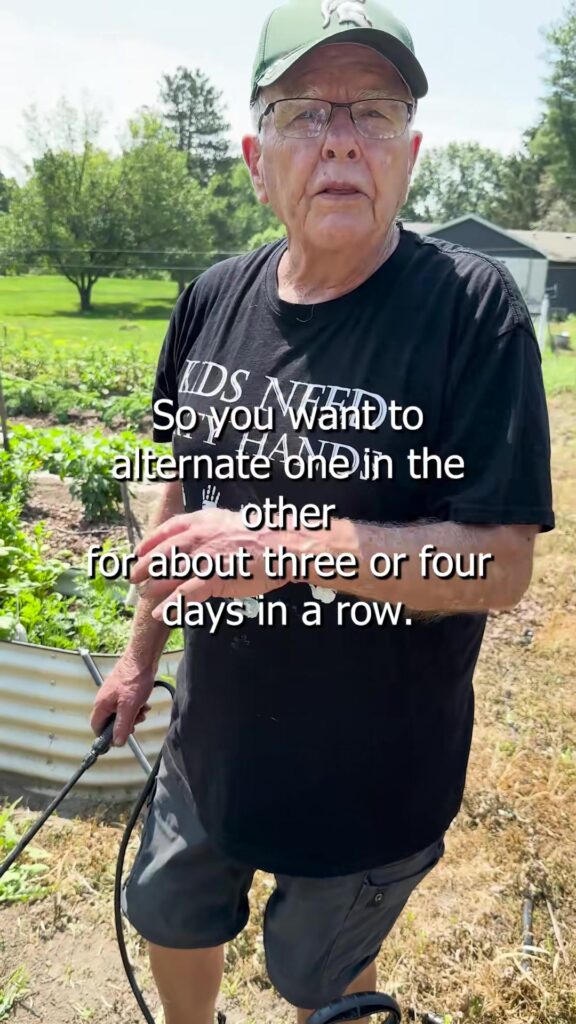
- Alternate products to reduce the risk of pathogens developing resistance.
Consistency is key. A single spray won’t do the trick—you’ll need to repeat applications weekly or biweekly depending on the product and conditions.
5. Monitor and Act Fast
Check your plants daily. Remove and dispose of infected leaves as soon as you spot them (do not compost blighted material). If an entire plant is heavily infected, consider removing it to protect nearby plants.
Use gloves and disinfect your tools after working with affected plants to prevent spreading spores.
Final Thoughts
Spraying tomatoes for blight is both a preventative and reactive strategy. With proper timing, safe product use, and regular monitoring, you can dramatically reduce the impact of this common disease. Whether you choose organic or conventional methods, the key is to stay vigilant and act early.
By taking these steps, you’ll not only protect your tomatoes—you’ll give your garden its best chance at thriving all season long.