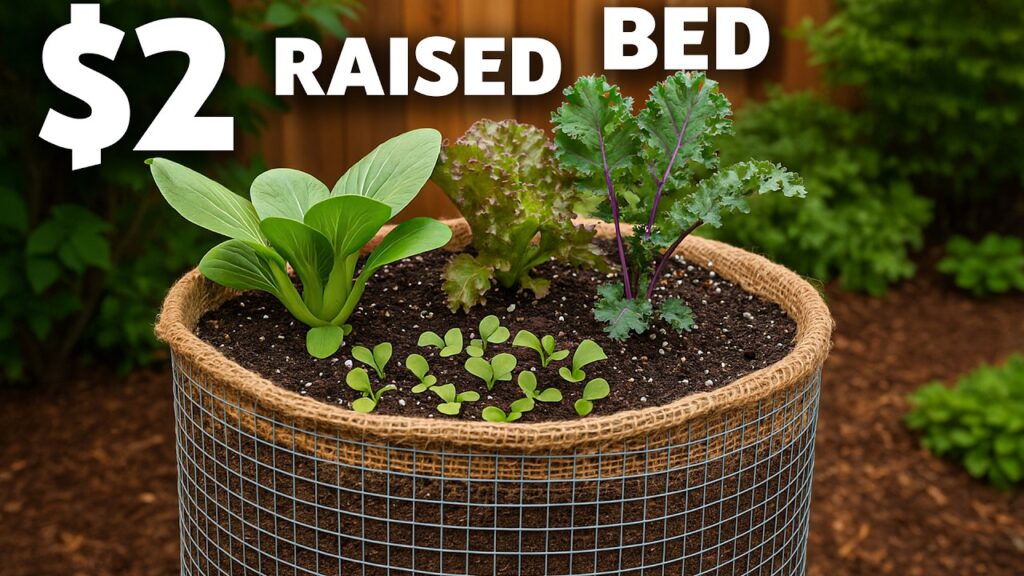
How to Build a $2 RAISED BED, Cheap and Easy Gardening
Gardening doesn’t have to be expensive. If you’re looking to grow your own vegetables or flowers without breaking the bank, building a raised bed for around $2 is a fantastic way to get started. Raised beds offer better drainage, improved soil quality, and easier access for planting and harvesting. Best of all, you don’t need to be a carpenter or spend a fortune on materials. With a few simple steps and creative sourcing, anyone can build a functional, durable raised bed on a tight budget.
Step 1: Gather Free or Cheap Materials
The key to building a $2 raised bed is sourcing your materials smartly. Visit local construction sites, lumber yards, or even check online marketplaces like Facebook Marketplace, Craigslist, or Freecycle. People often give away leftover wood pallets or scrap lumber for free. Make sure the wood is untreated, especially if you’re using it to grow food, as treated wood can contain harmful chemicals.
Standard pallet wood is perfect for this project because it’s sturdy, often free, and already cut into usable lengths. You’ll need four to six pallet planks, each roughly 4 to 6 feet long. Additionally, gather a few nails or screws. If you don’t already own these, small hardware packs can be found at dollar stores or local thrift shops.
Step 2: Choose the Location
Pick a sunny spot in your yard or patio. Most vegetables need at least 6-8 hours of sunlight per day. Level the ground with a rake or shovel so the raised bed sits evenly. You don’t need to dig much—one of the benefits of raised beds is that they sit on top of the existing soil, making installation much easier.
Step 3: Assemble the Frame
Lay out your wooden planks in a rectangle or square shape, depending on the size and space you have. A common beginner size is 3 feet by 6 feet—large enough to grow plenty of food but small enough to manage easily.
Nail or screw the planks together at the corners. If you have a hammer and nails, great. If not, even tying the corners together with zip ties or wire can work temporarily until you get proper fasteners.
To increase durability, add wooden stakes to the inside corners and fasten the sides to the stakes. This will help the structure resist bowing out once it’s filled with soil.
Step 4: Fill with Soil
The raised bed should be filled with a mix of soil, compost, and organic matter. You can use soil from your yard, mixed with kitchen scraps, grass clippings, or leaves. For extra nutrients, add aged manure or compost if you have access. Layering these materials will build rich, well-draining soil over time.
Step 5: Start Planting
Now that your $2 raised bed is ready, it’s time to plant! Choose vegetables or flowers suited to your climate and the season. Lettuce, radishes, tomatoes, and herbs are excellent choices for beginners.
Final Thoughts
A raised bed doesn’t have to cost a fortune. With a little creativity and resourcefulness, you can build a highly productive garden bed for next to nothing. Gardening this way not only saves money—it connects you to your food and the earth in a meaningful, rewarding way. Happy planting!