


How To Plant Early Potatoes
Planting early potatoes is a rewarding gardening endeavor that allows you to enjoy fresh, homegrown spuds earlier in the season than maincrop varieties. These early varieties mature faster—usually in 10 to 12 weeks—and can be harvested in late spring or early summer. With the right techniques and timing, you can achieve a healthy and abundant crop. Here’s a comprehensive guide on how to plant early potatoes successfully.
Choosing the Right Variety
Start by selecting a suitable early variety. Popular choices include ‘Rocket’, ‘Swift’, ‘Arran Pilot’, and ‘Pentland Javelin’. These varieties are bred to grow quickly and thrive in cool spring temperatures, making them ideal for early planting. You can buy certified seed potatoes from a garden center or reputable supplier to reduce the risk of disease.
Chitting Your Potatoes
Before planting, “chit” your seed potatoes. This means allowing them to sprout short, sturdy shoots. To do this, place the potatoes in a cool, bright, and frost-free location—like a windowsill or greenhouse—with the eyes (the small indentations where shoots will emerge) facing up. Let them chit for about 4–6 weeks. The shoots should be around 1 inch long when ready to plant.
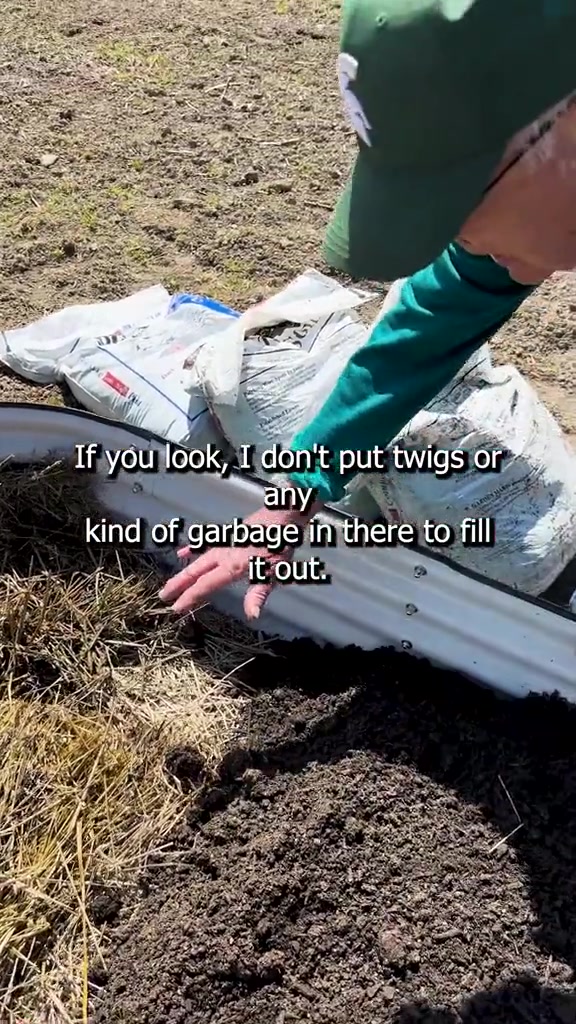
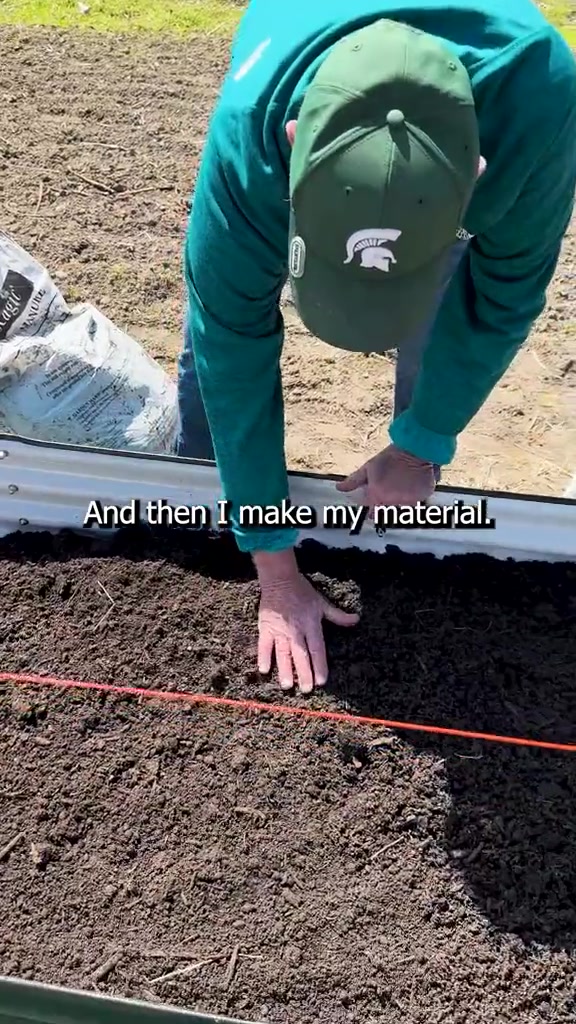
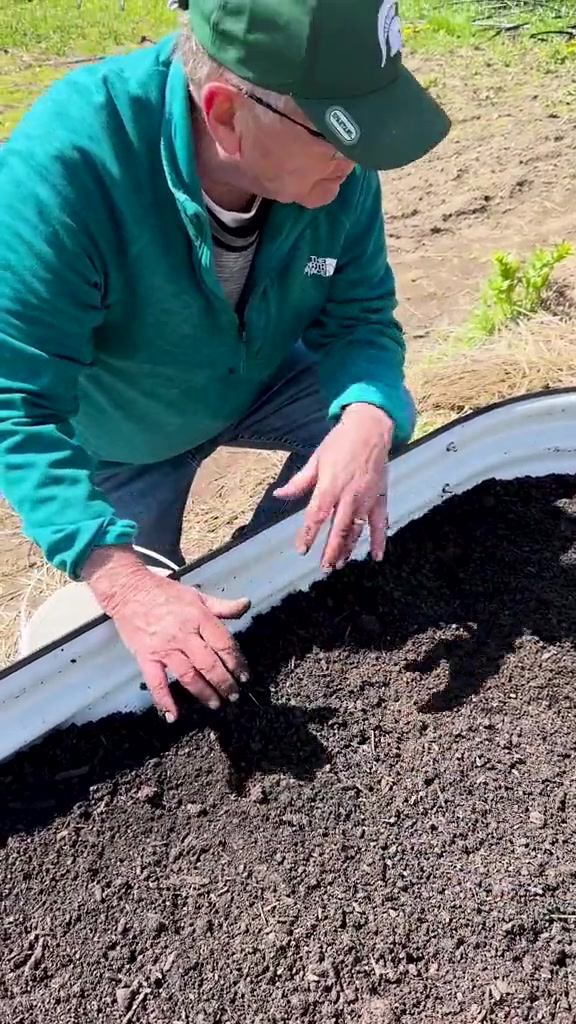
Preparing the Soil
Potatoes prefer well-drained, loose, and fertile soil. A sunny location is ideal. Begin preparing the soil a few weeks before planting. Dig it over thoroughly and remove any large stones or weeds. Mix in plenty of well-rotted compost or organic matter to enrich the soil and improve its texture. Avoid planting potatoes in soil where you grew potatoes the previous year to reduce the risk of disease.
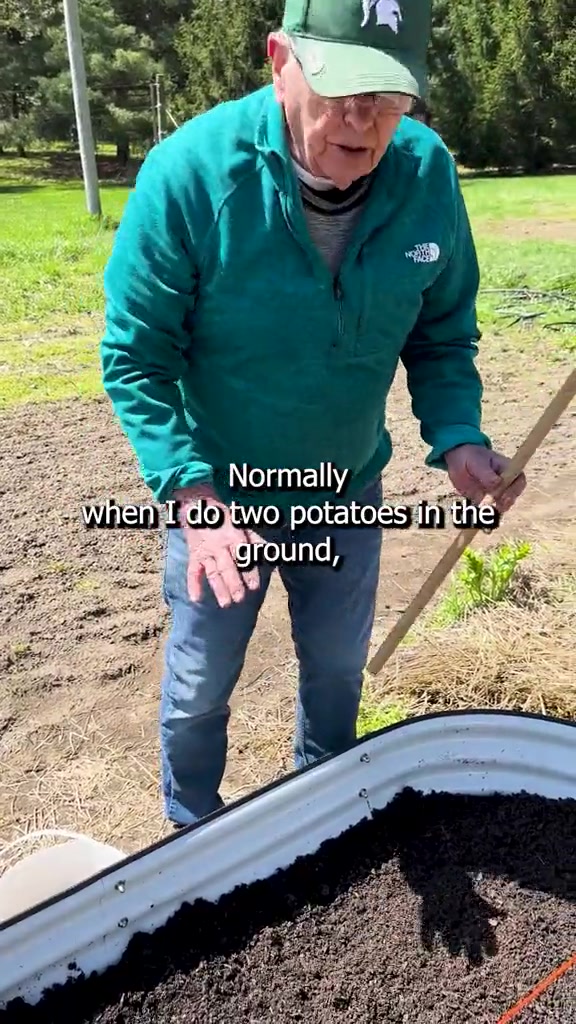
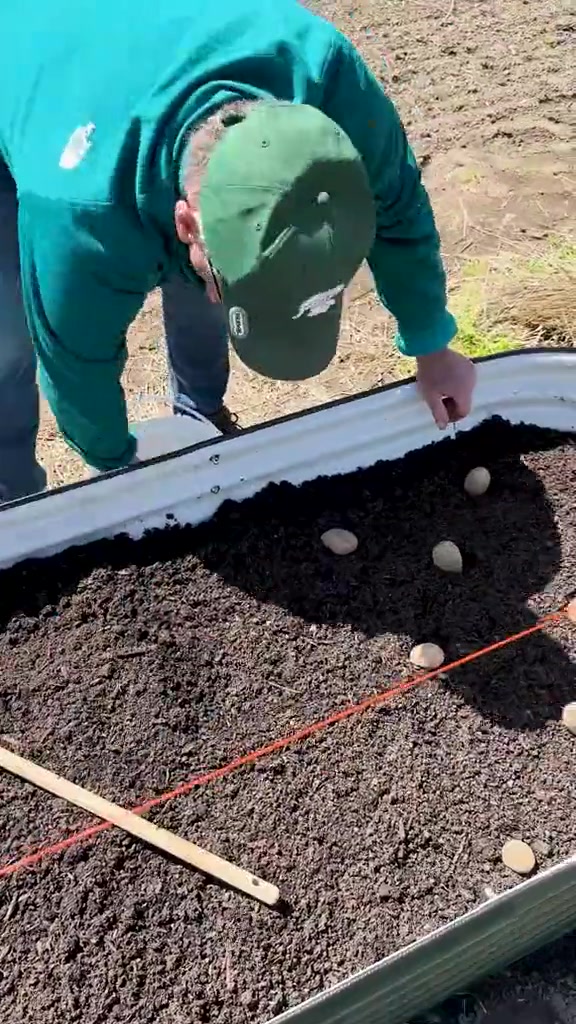
Planting Time and Method
In temperate climates, early potatoes are usually planted between late February and early April, depending on frost conditions. If your region experiences late frosts, consider starting them in containers or under cover.
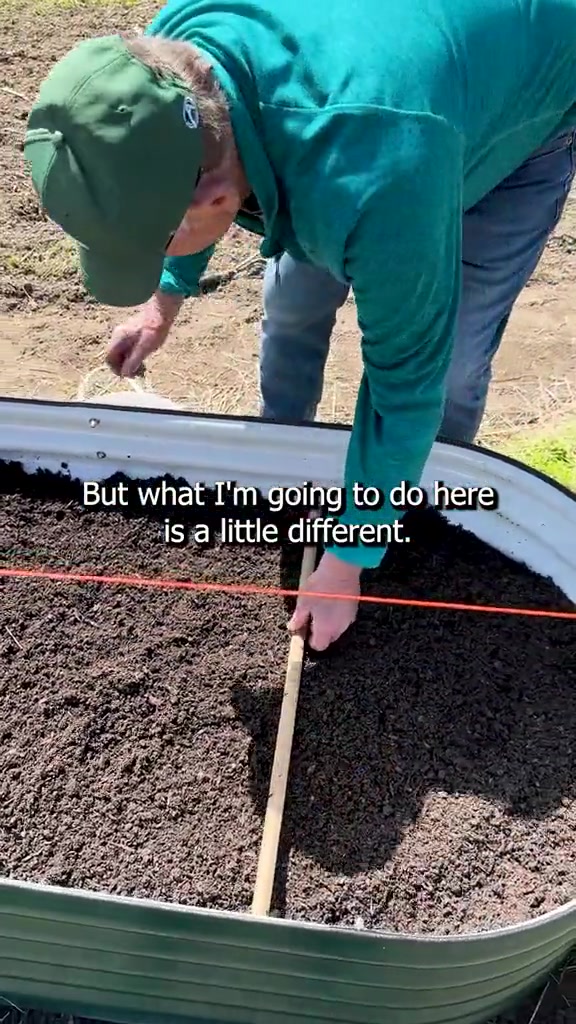
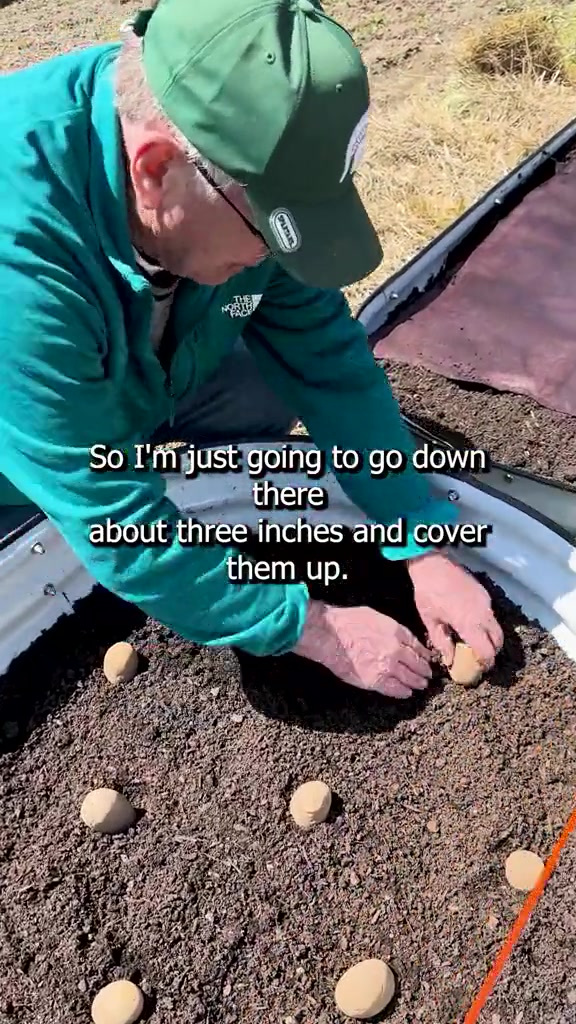
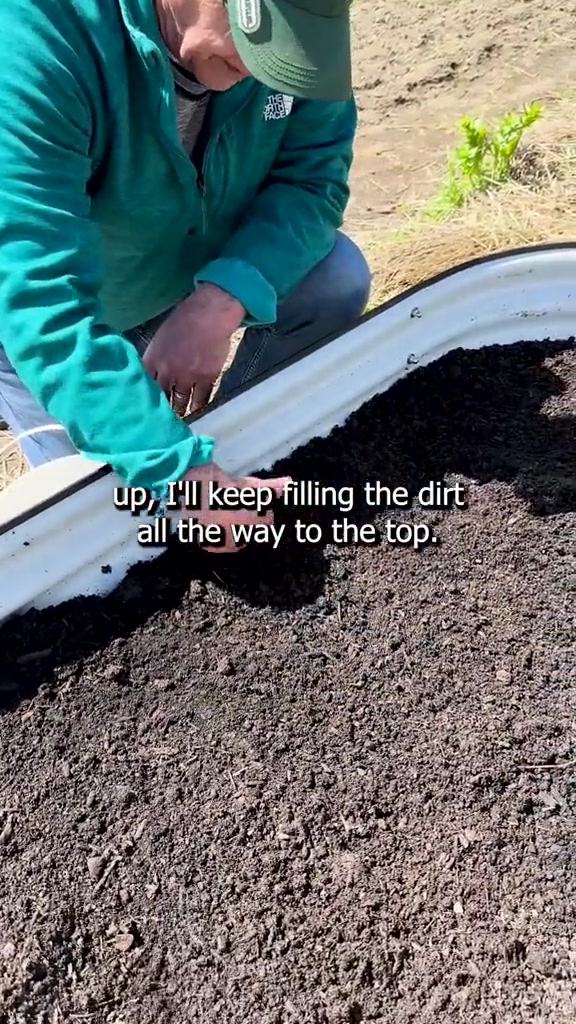
To plant in the ground, dig trenches about 4 inches deep and space the seed potatoes 12 inches apart, with 24 inches between rows. Place the chitted potatoes with the shoots facing upward and cover with soil. If using containers or grow bags, choose a deep container and place about 4 inches of compost at the bottom. Lay the seed potatoes on top, cover with another few inches of compost, and continue adding compost as the plants grow (a process known as “earthing up”).
Caring for Your Crop
As the shoots grow, regularly “earth up” the plants by mounding soil around the base. This protects young shoots from frost and encourages more tubers to develop. Water regularly, especially during dry spells, but avoid overwatering. Feed with a high-potassium fertilizer to support healthy growth.
Watch for pests such as slugs and potato blight. Remove any infected foliage immediately and practice crop rotation annually to keep soil healthy.
Harvesting
Early potatoes are typically ready to harvest 10 to 12 weeks after planting. Once the flowers appear and begin to fade, gently dig around the base of the plant to check for tuber size. Use a garden fork or your hands to lift them carefully from the soil. Early potatoes are best eaten fresh, as they don’t store well.
With a bit of preparation and care, planting early potatoes can yield delicious, tender tubers perfect for salads, roasting, or boiling. Happy planting!