
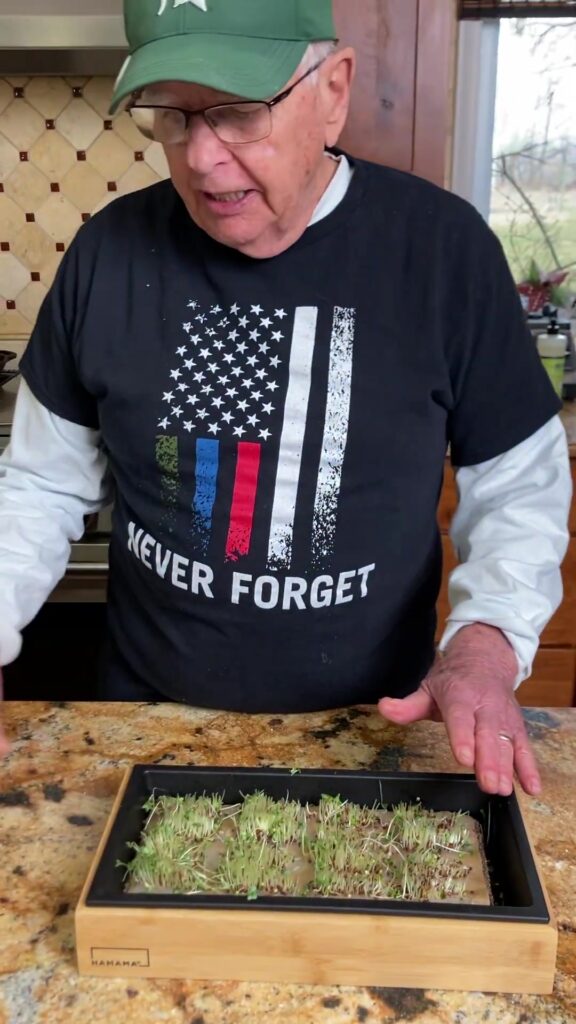
Growing Second Batch of Microgreens at Home
Microgreens are a fantastic way to add fresh, nutrient-packed greens to your meals, and growing them at home is both simple and rewarding. If you’ve already harvested your first batch, you might be eager to start your second round. Whether you’re refining your technique or experimenting with new varieties, growing a second batch of microgreens offers an opportunity to improve and expand your indoor gardening skills.
In this guide, we’ll walk through the key steps for successfully growing your second batch of microgreens at home, including selecting seeds, optimizing growing conditions, and troubleshooting common issues.

1. Choosing the Right Seeds
For your second batch, consider trying different microgreen varieties to diversify your harvest. Some popular options include:
- Sunflower – Crunchy and nutty, great for salads.
- Pea shoots – Sweet and tender, perfect for stir-fries.
- Radish – Spicy and fast-growing.
- Broccoli – Mild and packed with nutrients.
- Arugula – Peppery flavor, excellent for garnishing dishes.
If you had success with a particular variety in your first batch, you might want to stick with it or mix seeds for a flavorful blend.
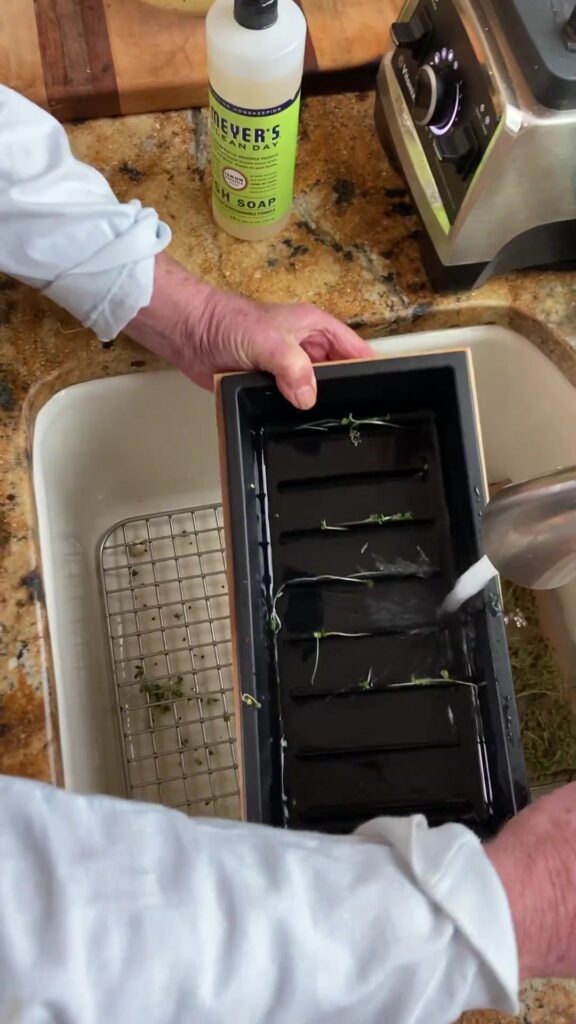
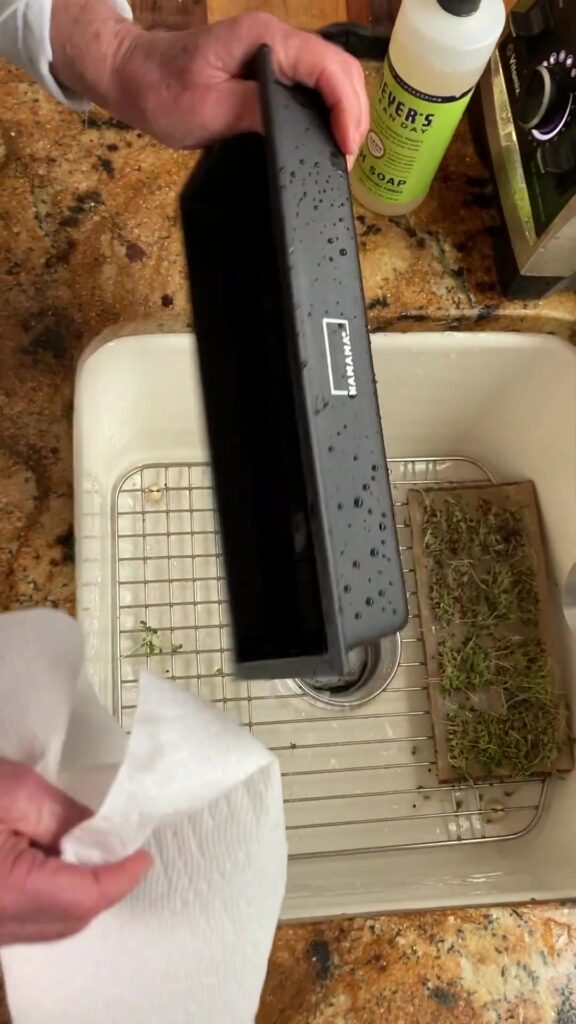
2. Preparing Your Growing Trays
Reusing trays from your first batch? Make sure to clean them thoroughly to prevent mold or bacteria buildup. Wash them with warm, soapy water and rinse well. If you’re using new trays, ensure they have drainage holes to avoid waterlogging.
Growing Medium Options:
- Soil – A lightweight, organic potting mix works best.
- Coconut coir – Retains moisture well and is reusable.
- Hydroponic mats – Clean and easy to use, but may require more frequent watering.
Fill your tray with about 1-2 inches of moistened growing medium, leveling it gently without compacting it too much.
3. Sowing the Seeds
Proper seeding ensures even growth. Follow these steps:
- Seed Density – Sprinkle seeds evenly across the surface. They should be close but not overlapping too much (unless they’re small seeds like broccoli or kale, which can be densely sown).
- Press Down – Gently press seeds into the soil for good contact.
- Covering Seeds – Some microgreens (like sunflower or pea) benefit from being covered with a thin layer of soil or another tray to keep them dark during germination. Others (like arugula or radish) can be left uncovered.
- Misting – Lightly mist the seeds with water to keep them moist.
4. Germination & Blackout Period
After sowing, microgreens need a dark, humid environment to sprout. Here’s how to manage this stage:
- Cover the Tray – Use another tray or a damp paper towel to block light for 2-3 days.
- Weight (Optional) – Placing a light weight (like a book) on top can encourage stronger stems in varieties like sunflower or pea shoots.
- Check Moisture – Ensure the medium stays damp but not soggy to prevent mold.
Once seeds have sprouted (usually in 2-4 days), remove the cover and expose them to light.
5. Providing Proper Light
Microgreens need 12-16 hours of light daily for healthy growth. Options include:
- Natural sunlight – Place near a sunny windowsill (south-facing is ideal).
- Grow lights – LED or fluorescent lights positioned 4-6 inches above the tray prevent leggy growth.
Rotate the tray daily if using natural light to ensure even growth.
6. Watering Correctly
Overwatering is a common mistake. Follow these tips:
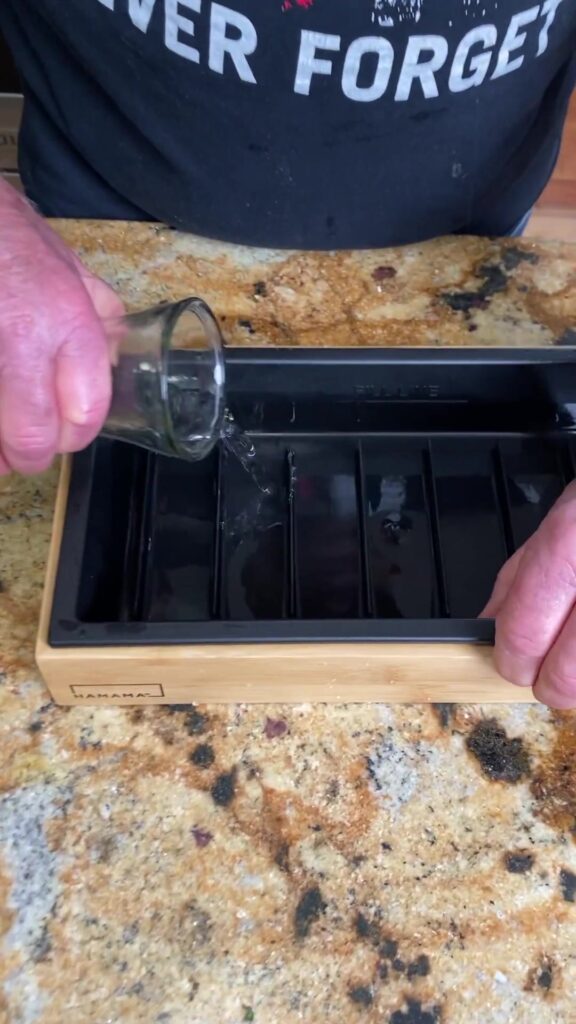
- Bottom Watering – Pour water into the tray below, letting the soil absorb it. This prevents mold on leaves.
- Misting – Use a spray bottle for young sprouts to avoid disturbing them.
- Drain Excess Water – Never let the tray sit in standing water.
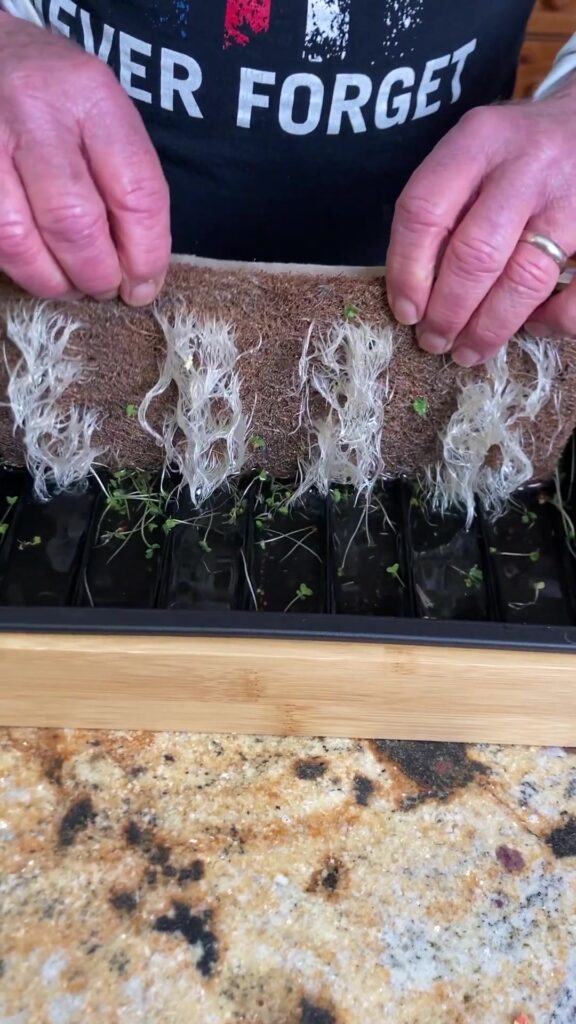
7. Harvesting Your Second Batch
Most microgreens are ready in 7-14 days, depending on the variety. Harvest when:
- The first true leaves appear (after the initial seed leaves).
- They reach 2-3 inches in height.
How to Harvest:
- Use clean scissors to cut just above the soil.
- Rinse gently if needed, then pat dry before storing.

8. Storing & Enjoying Your Microgreens
- Short-term storage – Place in an airtight container with a paper towel in the fridge (lasts 5-7 days).
- Freezing – Not recommended, as they lose texture.
- Using Fresh – Add to salads, sandwiches, smoothies, or as a garnish for soups and omelets.

9. Troubleshooting Common Issues
- Mold → Improve airflow, reduce humidity, avoid overwatering.
- Leggy Growth → Increase light intensity or duration.
- Slow Germination → Check seed freshness, ensure warmth (70-75°F is ideal).
- Yellowing Leaves → Could indicate nutrient deficiency—try a diluted organic fertilizer if growing in a soilless medium.

Final Thoughts
Your second batch of microgreens is a chance to refine your technique and experiment with new flavors. By optimizing light, water, and seed selection, you’ll enjoy a continuous supply of fresh, homegrown greens.
With each batch, you’ll gain more confidence, and soon, you’ll be a microgreen-growing expert! Happy growing! 🌱