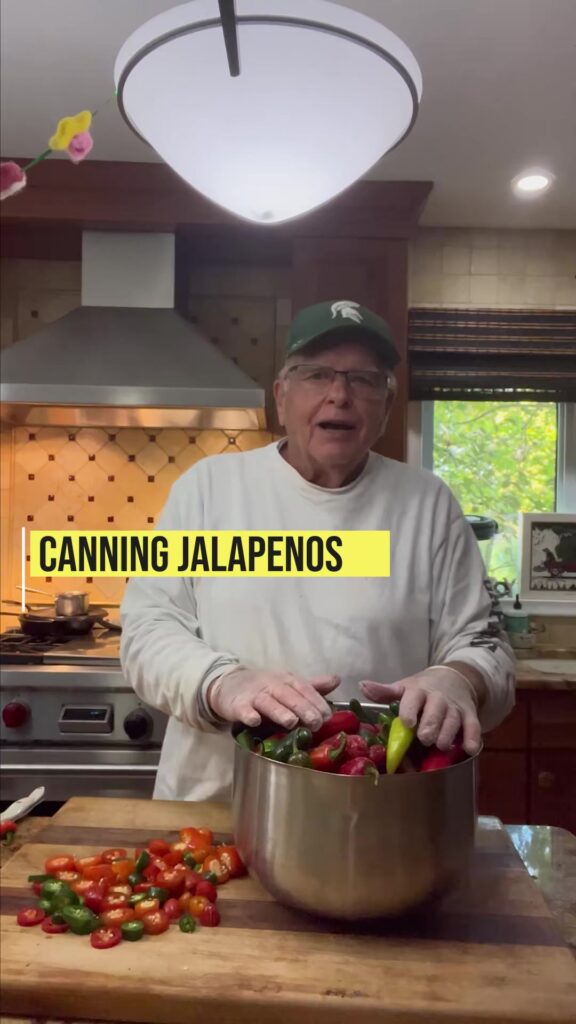
Easy Way to Can Jalapeno Peppers
If you have a garden full of jalapeños or found a great deal at the farmer’s market, canning them is a smart and delicious way to preserve the harvest. Canned jalapeño peppers can be added to nachos, tacos, chili, sandwiches, or eaten straight from the jar if you like a little heat. Fortunately, you don’t need fancy equipment or advanced skills. With this simple guide, you’ll be canning jalapeños like a pro in no time.
What You’ll Need:
- Fresh jalapeño peppers (about 2 pounds for 4 pint jars)
- 4 pint-sized canning jars with lids and bands
- White vinegar (5% acidity)
- Water
- Pickling or canning salt (not table salt)
- Garlic cloves (optional)
- Canning pot or large stockpot with rack
- Jar lifter or tongs
- Gloves (highly recommended)
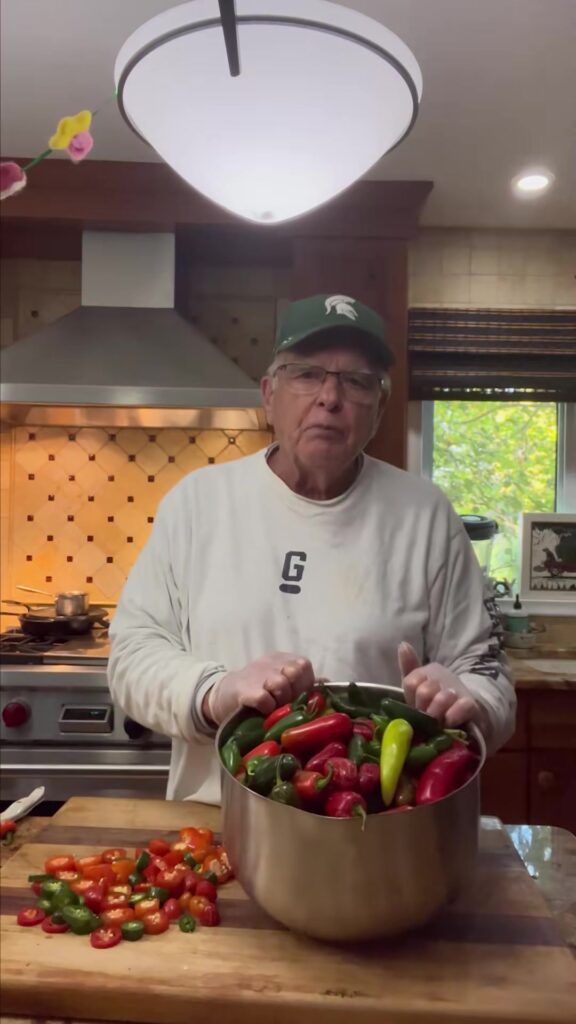
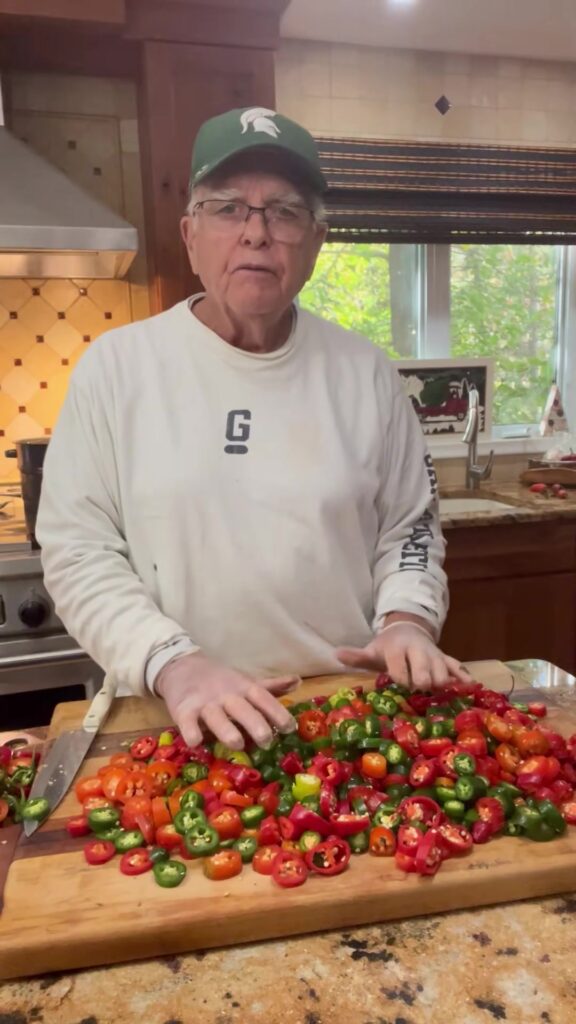
Step 1: Prepare the Jalapeños
Start by washing the peppers under cool running water. It’s best to wear gloves during this step since jalapeño oils can irritate your skin or eyes. Slice the peppers into rings, remove the stems, and if you want a milder batch, take out the seeds. For more heat, leave the seeds in. You can also keep some whole if you prefer. Poke a small slit in whole peppers to allow the brine to penetrate during processing.
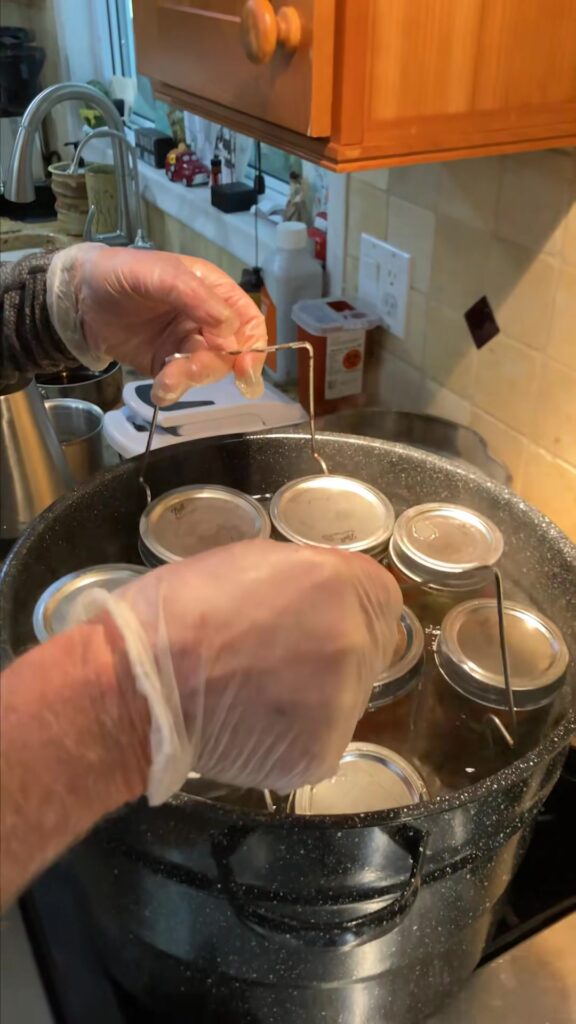
Step 2: Sterilize Your Jars
Place your jars in a boiling water bath for 10 minutes or run them through a dishwasher cycle on high heat. Keep the jars warm until you’re ready to use them. Boil the lids and bands for a few minutes and keep them in hot water until needed.
Step 3: Make the Brine
In a saucepan, combine 2 cups white vinegar, 2 cups water, and 2 tablespoons of pickling salt. Bring the mixture to a boil, then reduce the heat and let it simmer while you pack your jars.
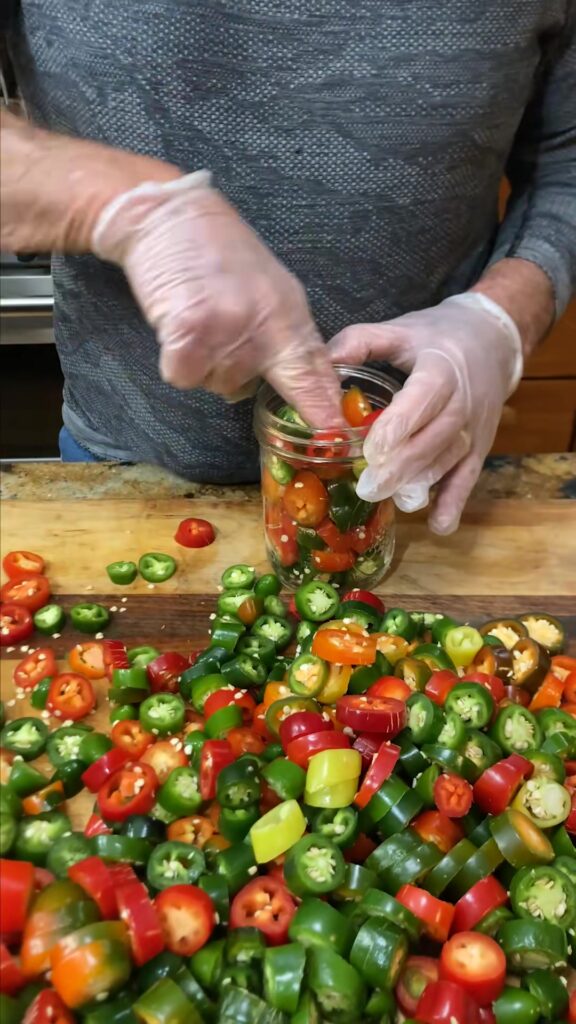
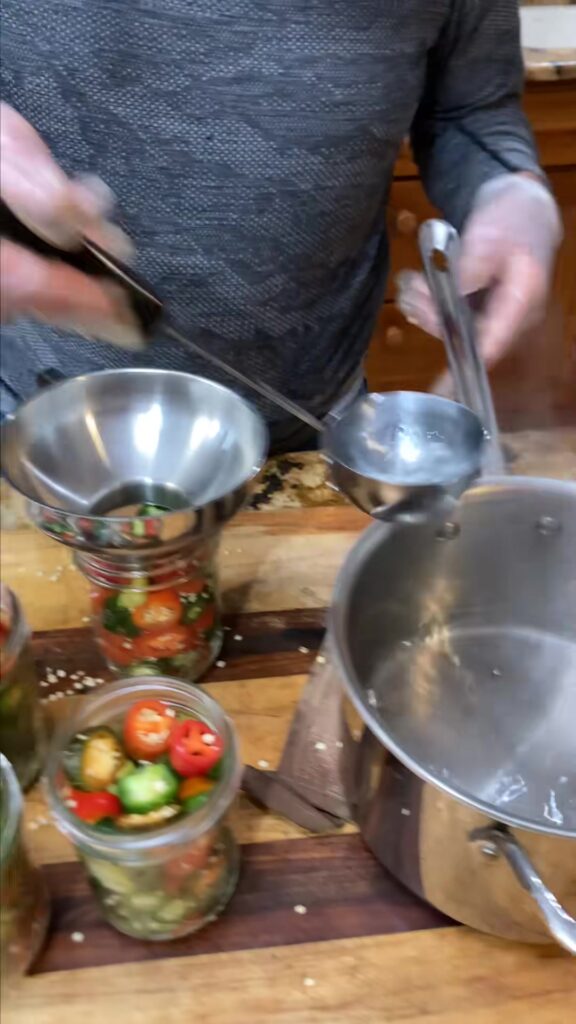
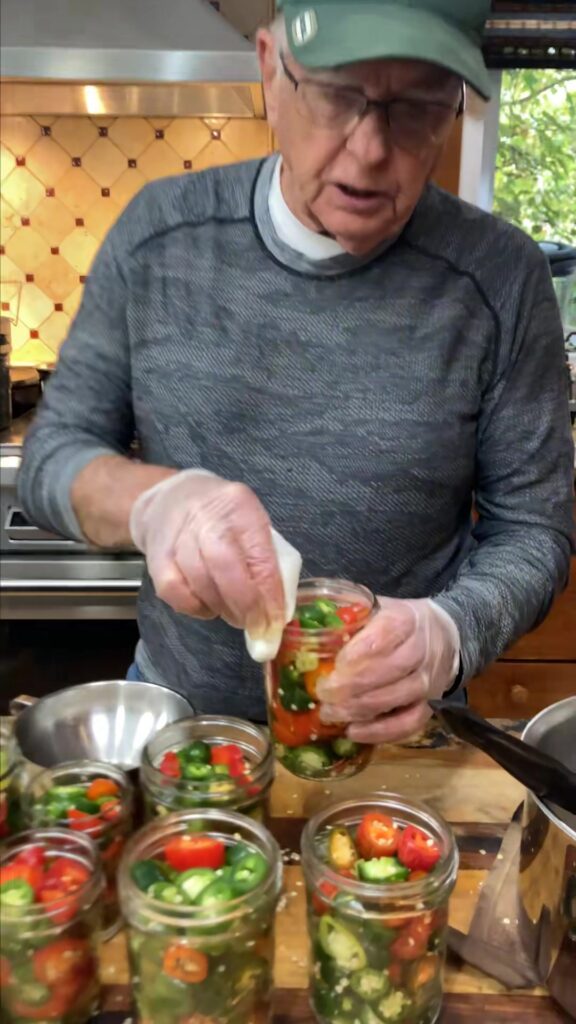
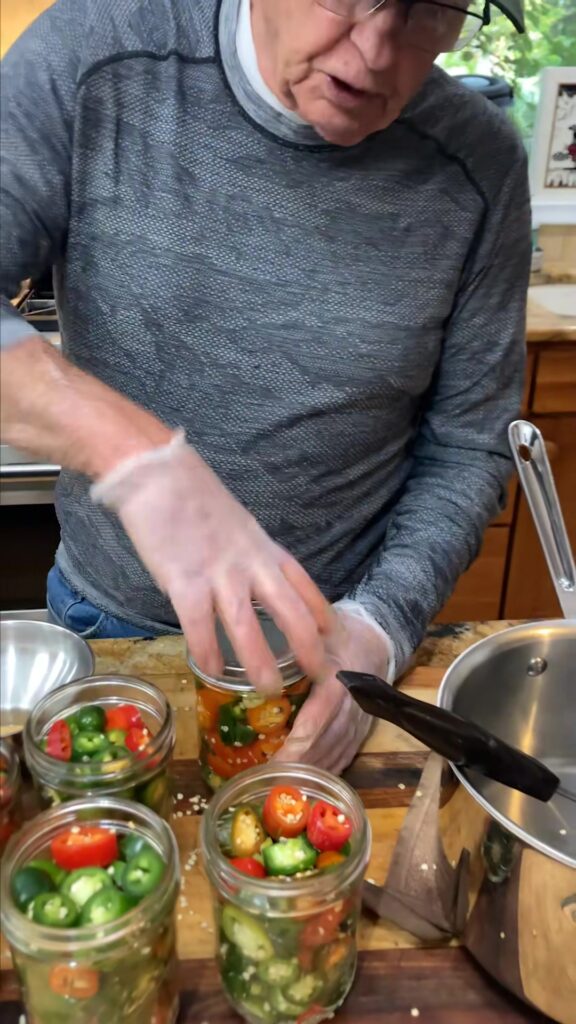
Step 4: Pack the Jars
Add a garlic clove to each jar if you want extra flavor. Then, fill the jars with the sliced jalapeños, leaving about ½ inch of headspace at the top. Gently tap the jars or use a clean utensil to remove air bubbles.
Step 5: Add the Brine
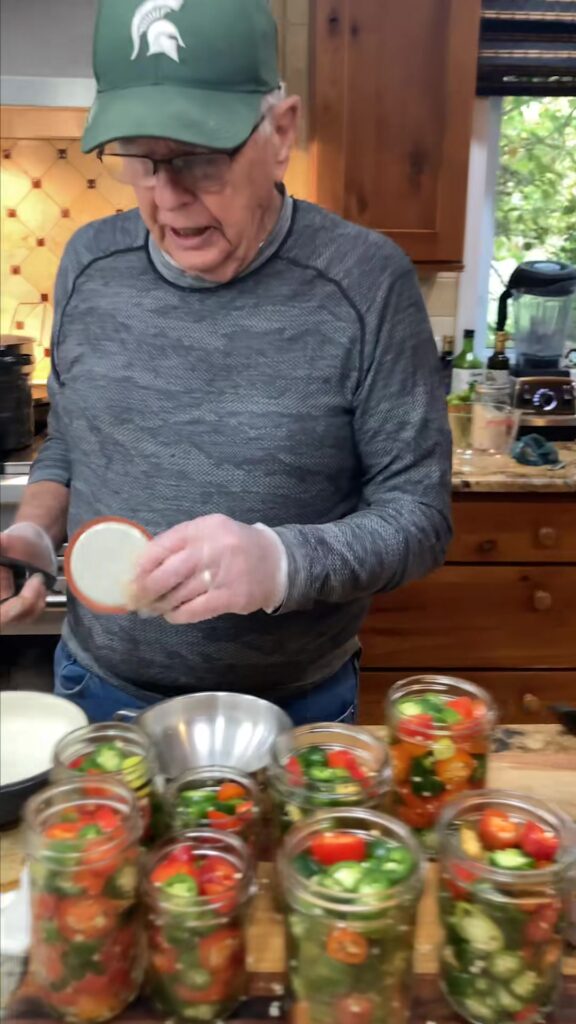
Carefully pour the hot brine into each jar, still maintaining ½ inch of headspace. Wipe the rims of the jars with a clean damp cloth to ensure a good seal. Place the lids on top and screw the bands on until they are fingertip tight—don’t over-tighten.
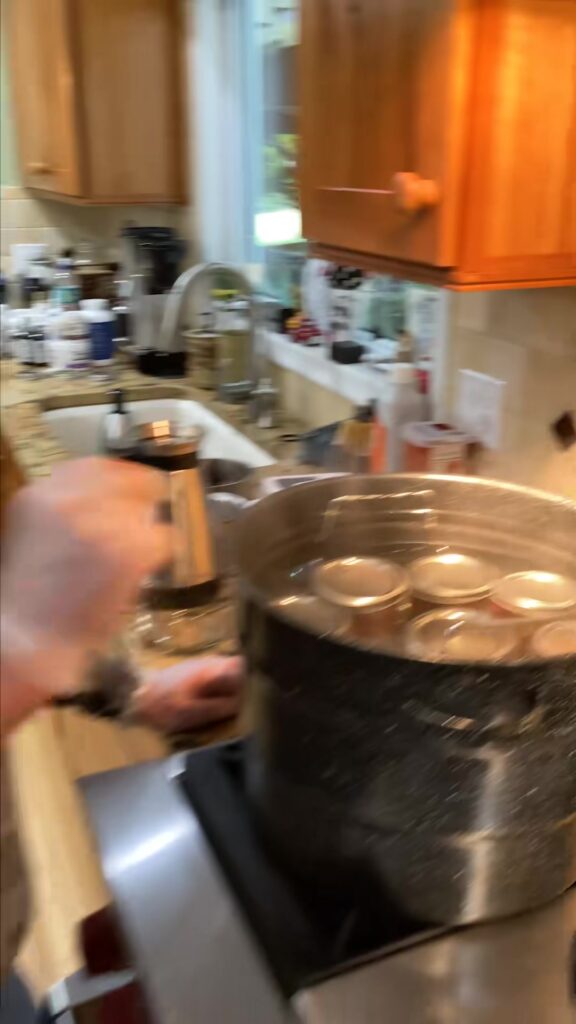
Step 6: Process the Jars
Place the jars in a boiling water canner or a large pot with a rack at the bottom. Make sure the water covers the jars by at least 1 inch. Bring to a boil and process the jars for 10 minutes (adjust time for altitude if needed). Once done, carefully remove the jars using a jar lifter and set them on a towel to cool for 12-24 hours.
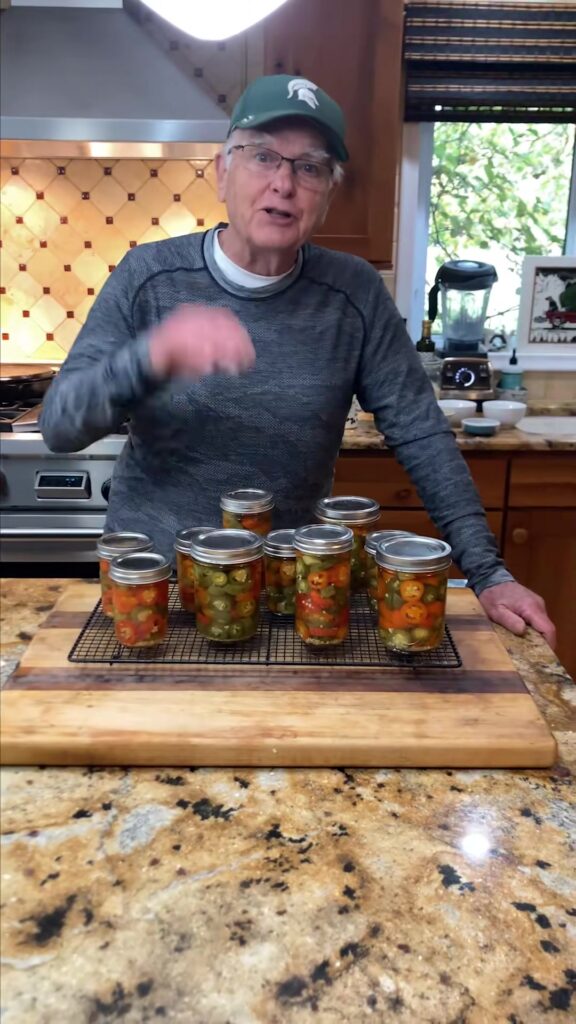
Step 7: Check Seals and Store
After the jars have cooled, press the center of each lid. If it doesn’t pop up, the jar is sealed. Any unsealed jars should be refrigerated and used within a few weeks. Properly sealed jars can be stored in a cool, dark place for up to a year.
Enjoy Your Peppers
Now that you’ve canned your jalapeños, you’ll have a spicy ingredient ready for countless recipes. Whether you’re spicing up a sandwich or adding kick to a pot of beans, having home-canned jalapeños on hand is both convenient and satisfying.
Canning jalapeños is not only easy but a great way to enjoy the flavor of summer all year round. Give it a try—you might never go back to store-bought again!