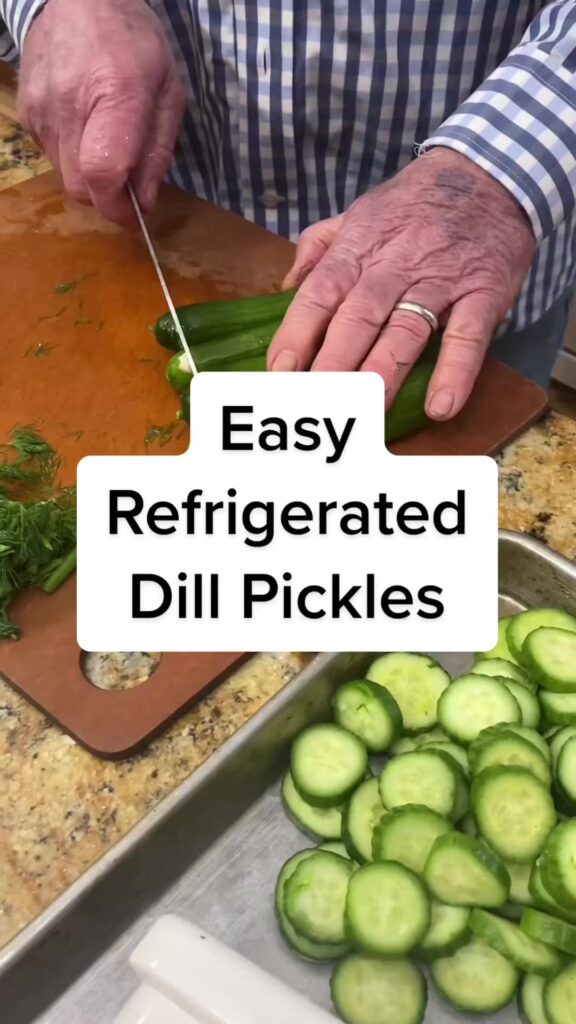
How to Dill Pickles
#pickles #salad #cooking #baking #holistichealth #burgers
Dill pickles are a kitchen staple that can elevate everything from burgers to salads, charcuterie boards, and even baked dishes. Making your own at home is easier than you think—and the result is a delicious, crunchy, tangy treat without preservatives or additives. Whether you’re trying to eat cleaner, reduce waste, or simply enjoy homemade flavors, dill pickling is a perfect addition to your holistic health routine.
Why Make Your Own Dill Pickles?
Store-bought pickles often contain artificial colors, excessive sugar, and preservatives. By making your own, you control what goes in—choosing fresh, organic cucumbers and tailoring the flavor to your taste. It’s a fun and satisfying process that combines culinary creativity with traditional food preservation techniques.
What You’ll Need
Here’s a basic list of ingredients and tools to get you started:
Ingredients:
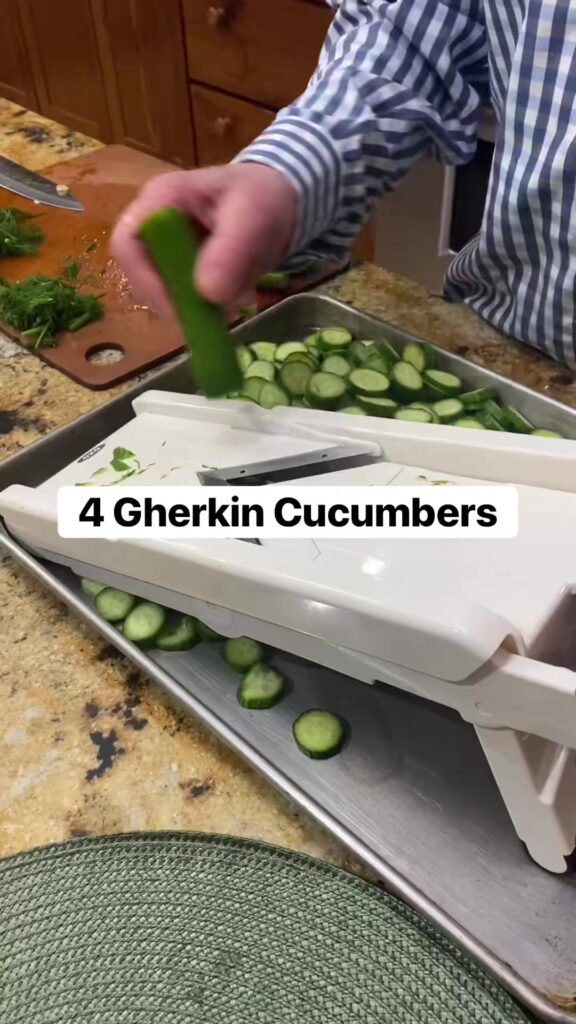
- 6–8 small cucumbers (pickling cucumbers are best)
- 3 cups water
- 1 cup white vinegar (or apple cider vinegar for a more robust flavor)
- 2 tablespoons kosher salt (avoid iodized salt)
- 4 cloves garlic, smashed
- 4 sprigs fresh dill (or 2 teaspoons dried dill seeds)
- 1 teaspoon black peppercorns
- Optional: mustard seeds, red pepper flakes, bay leaves
Tools:
- A large saucepan
- Mason jars with lids (quart-size works well)
- A ladle or funnel
- Tongs (optional but helpful)
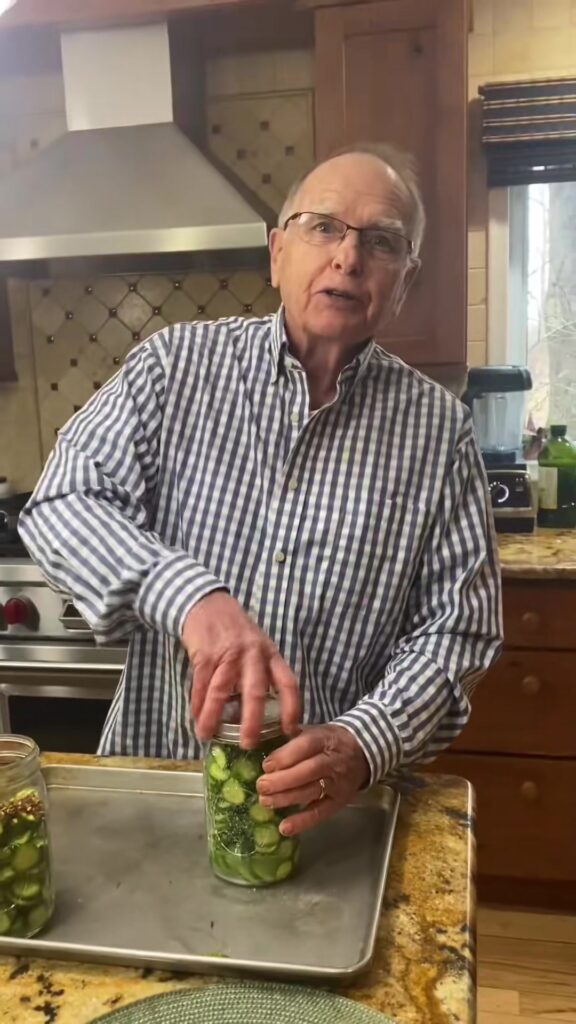
Step-by-Step Instructions
1. Sterilize Your Jars
Clean your jars and lids thoroughly with hot, soapy water. For extra cleanliness, submerge them in boiling water for 10 minutes or run them through a dishwasher cycle.
2. Prepare the Brine
In a saucepan, combine water, vinegar, and salt. Bring to a gentle boil, stirring to dissolve the salt completely. Remove from heat and let cool slightly.
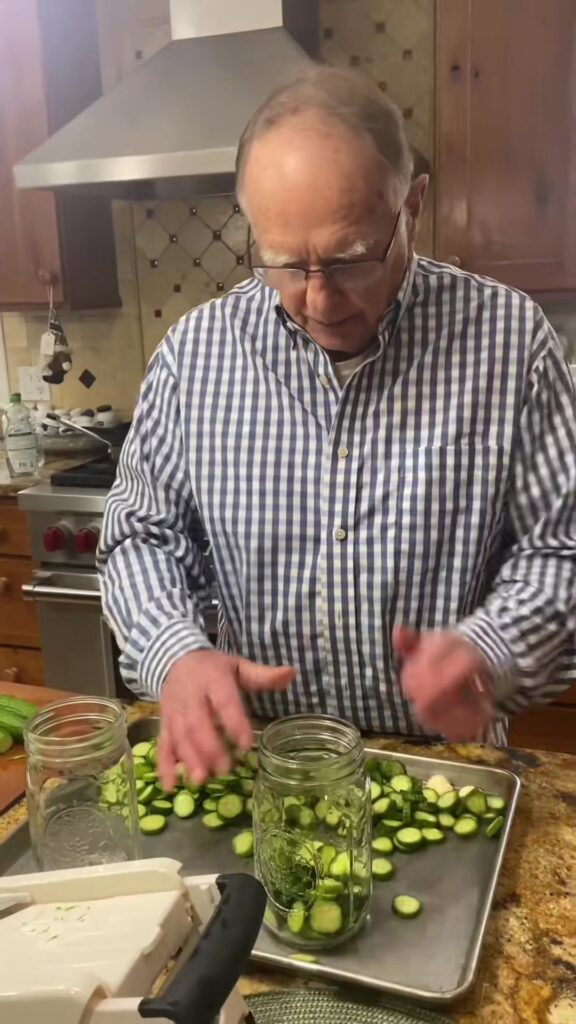
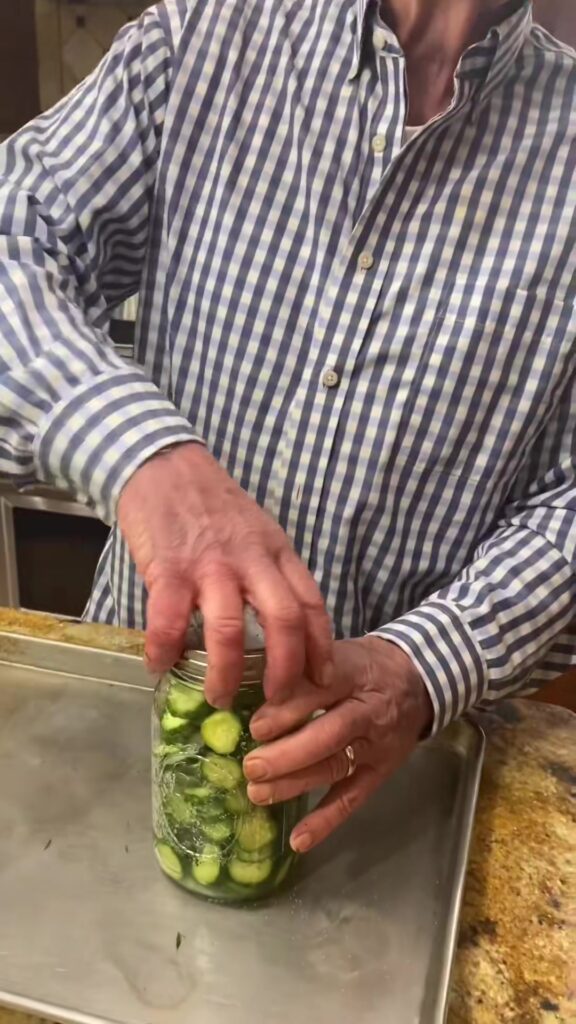
3. Pack the Jars
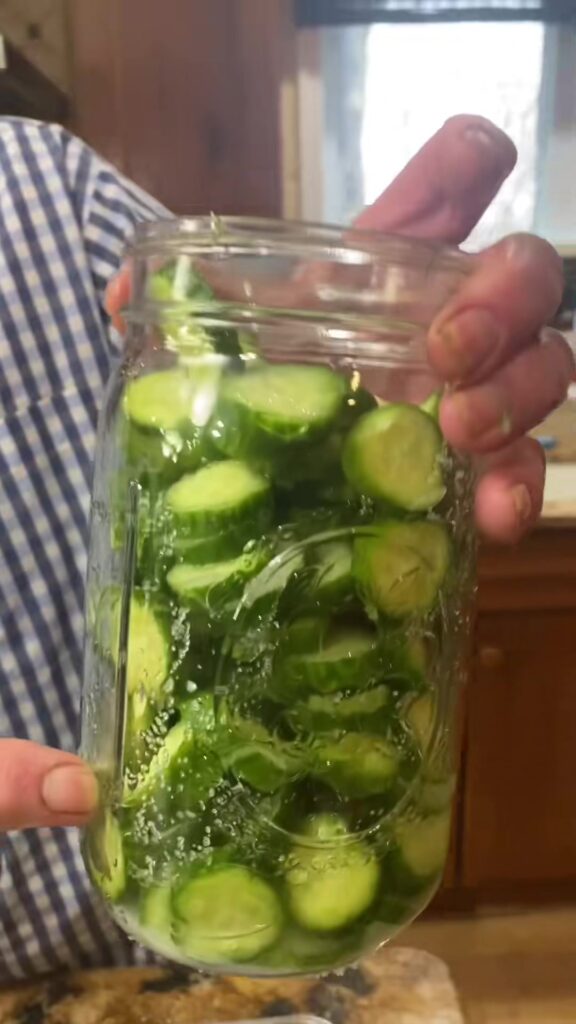
Place garlic, dill, peppercorns, and any optional spices at the bottom of each jar. Slice cucumbers into spears, rounds, or leave them whole, depending on your preference. Pack them snugly into the jars.
4. Add the Brine
Pour the warm brine over the cucumbers, ensuring they are fully submerged. Leave about 1/2 inch of space at the top of the jar.
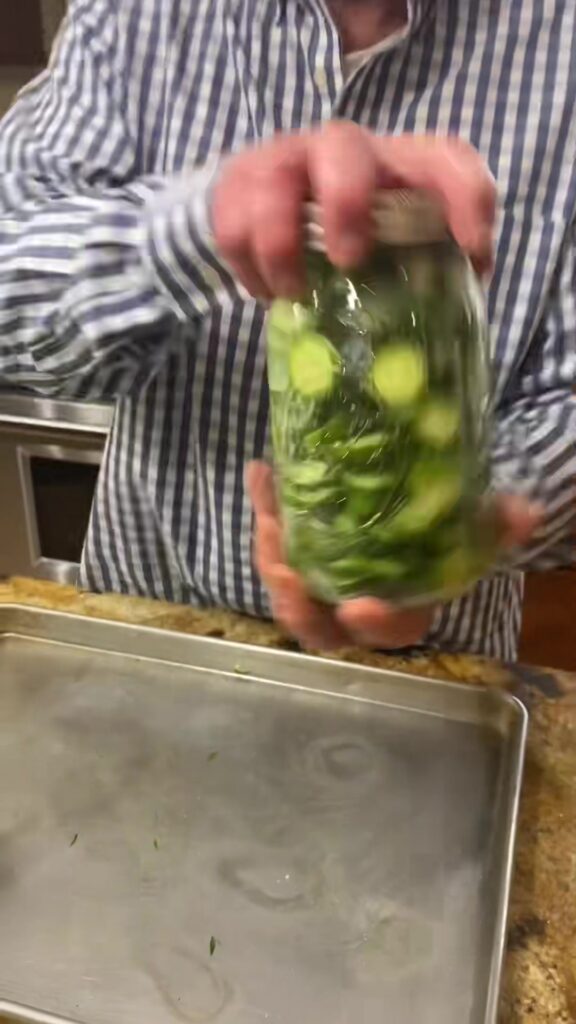
5. Seal and Refrigerate
Seal the jars with lids and let them cool to room temperature before placing them in the fridge. The pickles will be lightly flavored within 24 hours but reach optimal flavor in about 4–7 days.
Quick Pickles vs. Canned Pickles
The method above is for quick pickles, also known as refrigerator pickles. They’re not shelf-stable but will last in the fridge for up to two months. If you’d like to store them longer, you’ll need to use a water bath canning method to ensure safety and shelf stability.
Serving Ideas
Dill pickles are incredibly versatile:
- Add slices to burgers or sandwiches for a satisfying crunch.
- Chop them into potato or pasta salads for a zesty twist.
- Serve whole on a snack board with cheese and cured meats.
- Dice finely and mix into tuna or egg salad for extra flavor.
- Bake them into savory bread or muffins for a tangy surprise. Yes, really! #baking
Holistic Health Benefits
Cucumbers are hydrating and low in calories, and fermented pickles (if you go the probiotic route) offer gut-friendly bacteria. Making your own allows you to avoid added sugars and preservatives—an easy step toward a more holistic lifestyle. #holistichealth
Homemade dill pickles are simple, satisfying, and endlessly customizable. Whether you’re looking to add crunch to a dish or just enjoy a healthy snack, these pickles deliver big flavor with minimal effort.