How To Overwinter Strawberries
#strawberries #garden #gardening101 #organicgardening #vegetablegarden #homestead
Strawberries are a beloved garden fruit, known for their sweet flavor and versatility. However, as hardy perennials, they require some care and preparation to survive the cold months and return strong and productive in the spring. Whether you’re a backyard gardener or homesteader, learning how to overwinter strawberries is essential for a thriving patch year after year.
Why Overwintering Matters
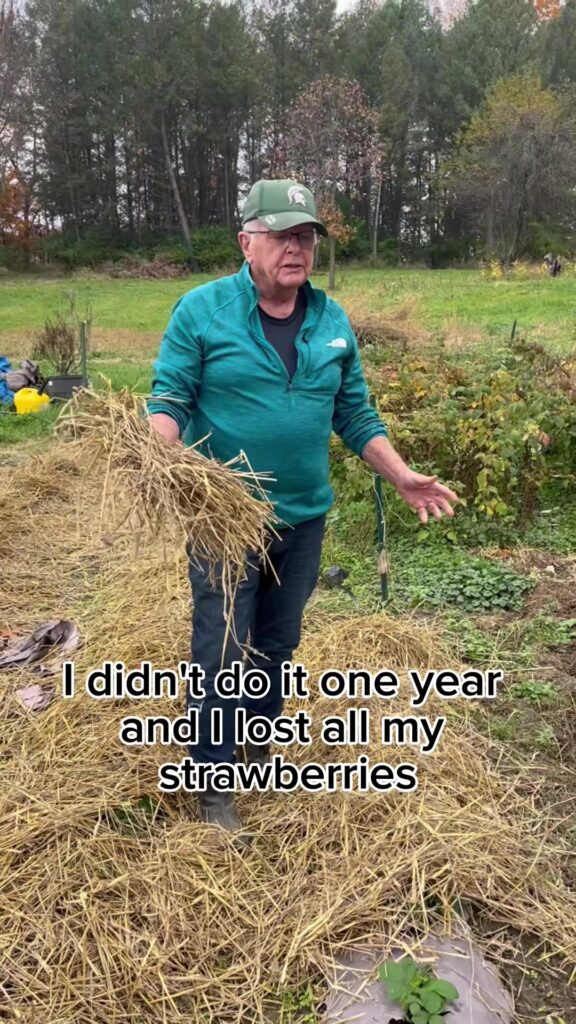
Overwintering strawberries protects them from freezing temperatures, frost heave, and moisture loss. Without protection, plants can suffer damage to their crowns and roots, reducing their ability to produce fruit in the next season. The good news? With just a little planning and effort, you can ensure your strawberries come back healthy and vigorous.
Step 1: Know Your Strawberry Type
There are three main types of strawberries:
- June-bearing: Produce one large crop in early summer.
- Everbearing: Yield fruit twice—once in spring and again in late summer.
- Day-neutral: Continue producing throughout the growing season.
All types can benefit from overwintering, but June-bearing varieties especially require proper winter protection to maintain their long-term productivity.
Step 2: Clean Up Your Strawberry Bed
Once your strawberries have stopped producing for the season and frost has set in, start by cleaning up the bed:
- Remove weeds and any rotting fruit or leaves.
- Cut back long runners unless you’re propagating new plants.
- Trim back foliage to about 1 inch above the crown, especially for June-bearing plants.
This tidying process helps reduce disease and pests that may overwinter in the debris.
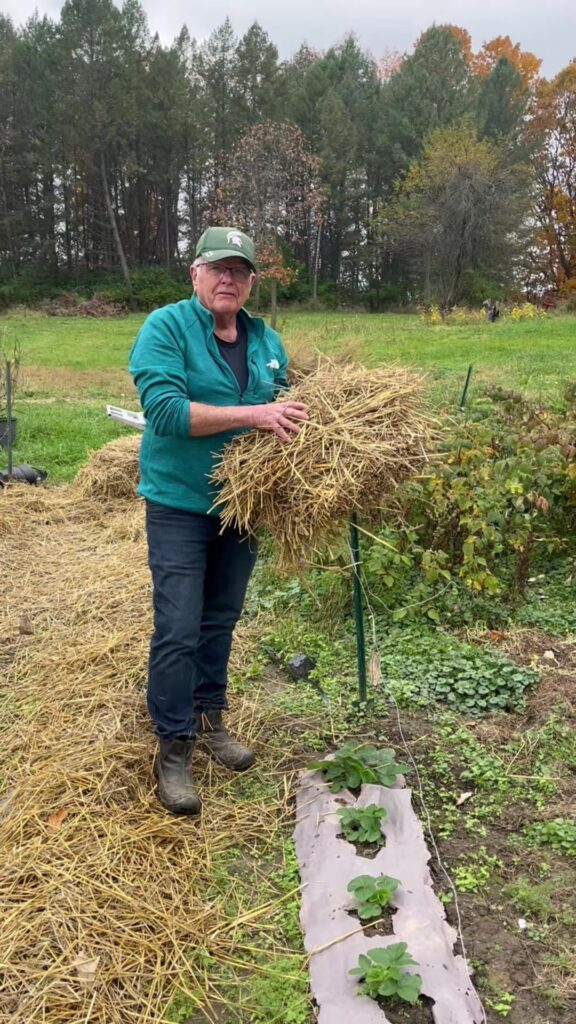
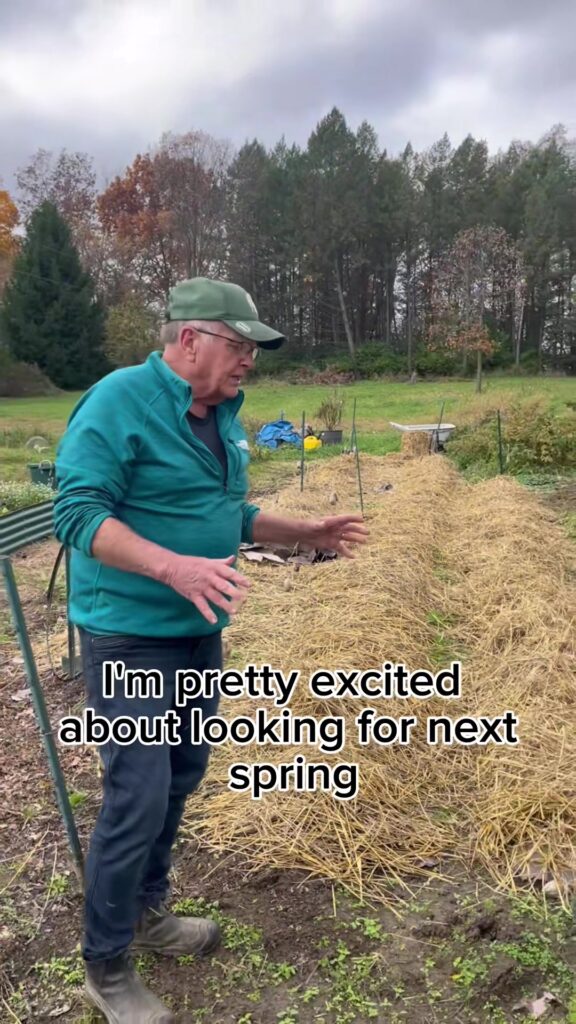
Step 3: Apply Mulch for Protection
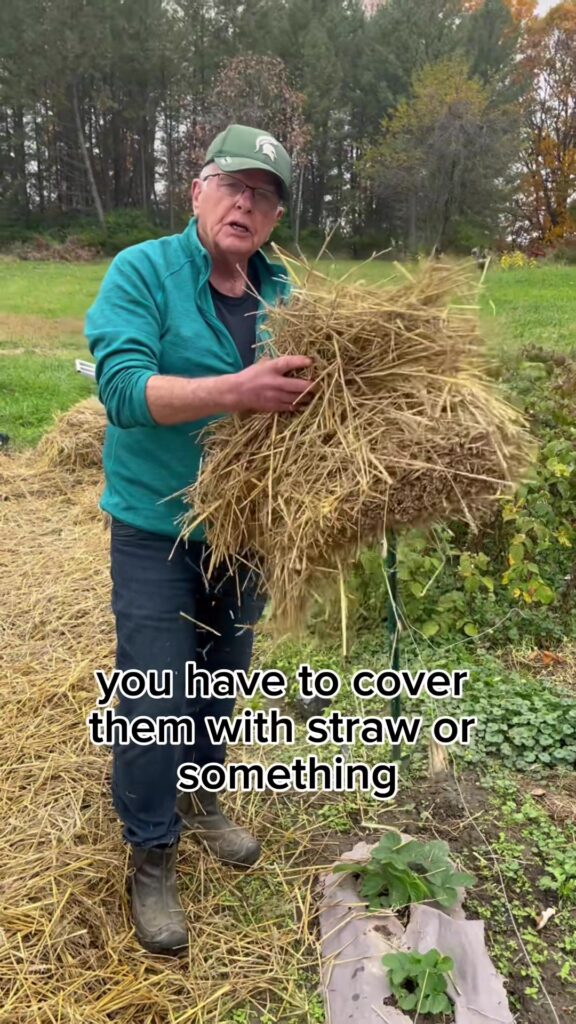
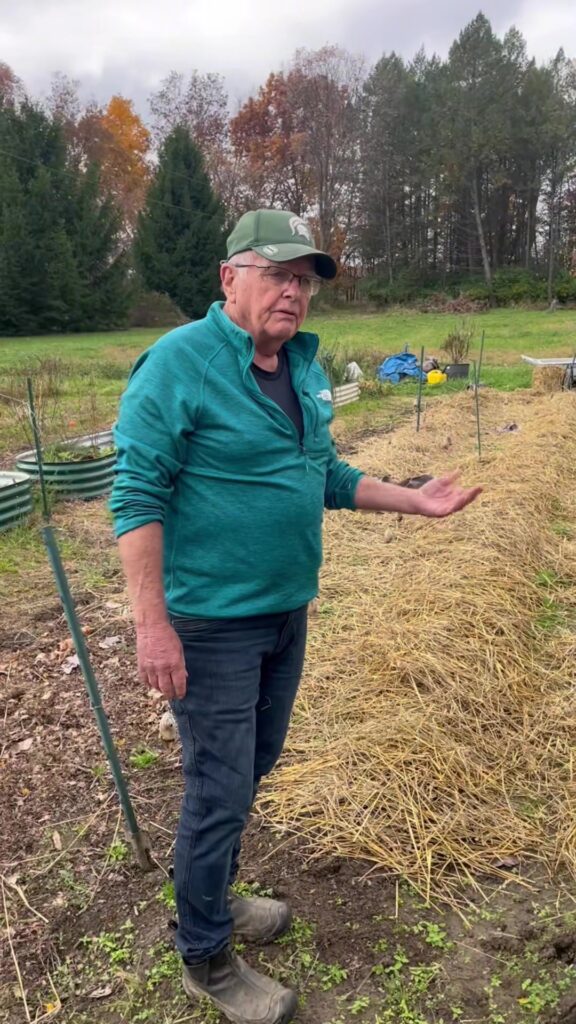
Mulching is the most critical step in overwintering strawberries. Straw, pine needles, or shredded leaves work well. Here’s how to do it:
- Wait until nighttime temperatures are consistently in the mid-20s°F (-3 to -5°C), but before the ground freezes solid.
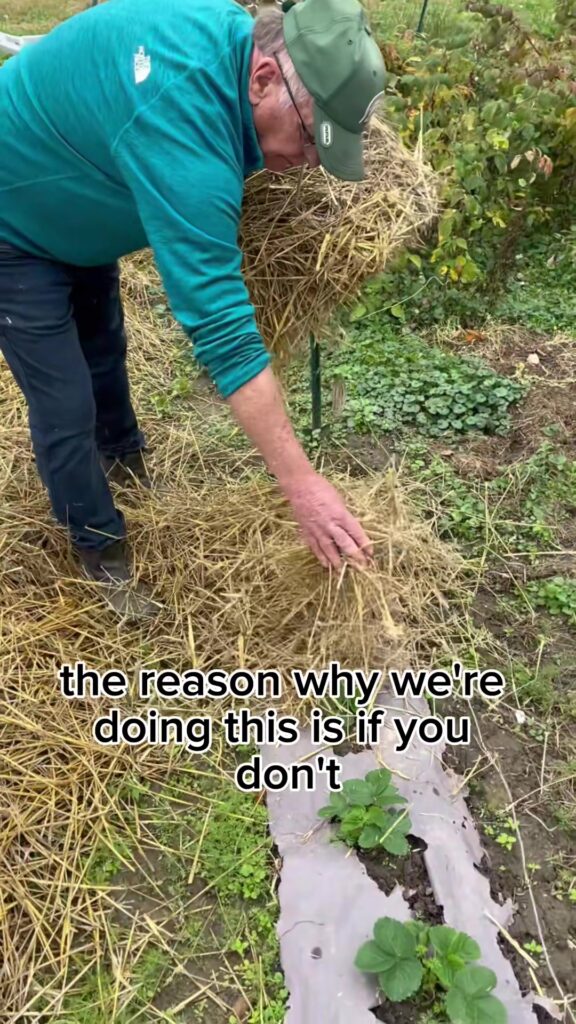
- Apply 3–5 inches of mulch over the entire strawberry bed, making sure the crowns are well-covered but not smothered.
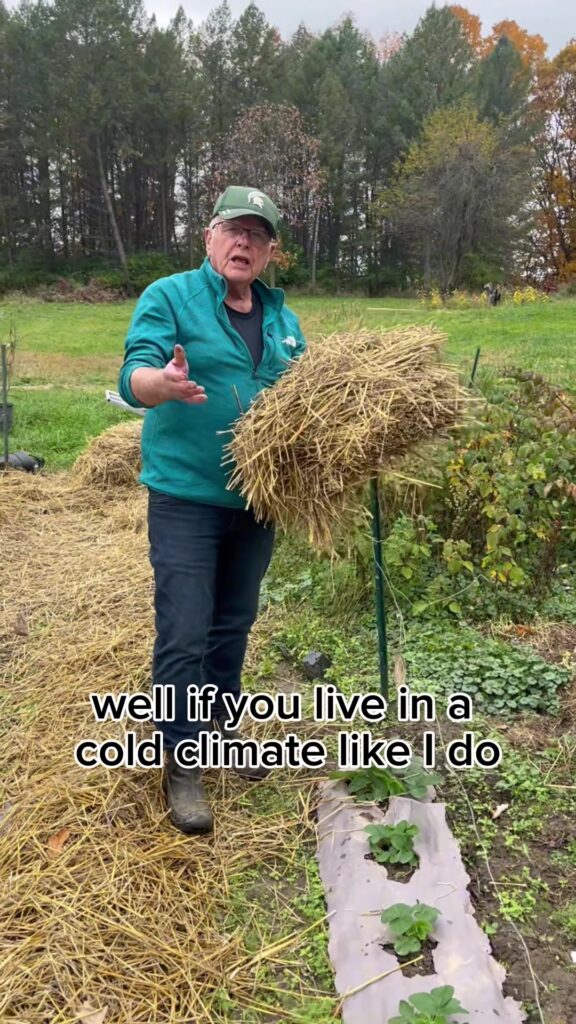
- If you live in a very cold climate, consider an additional layer of protection such as frost cloth or row cover fabric.
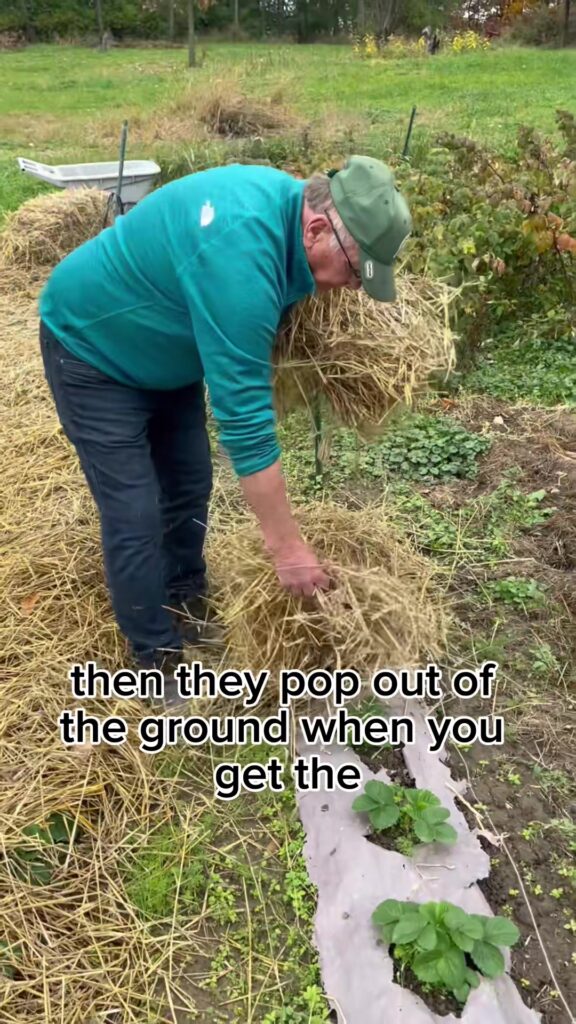
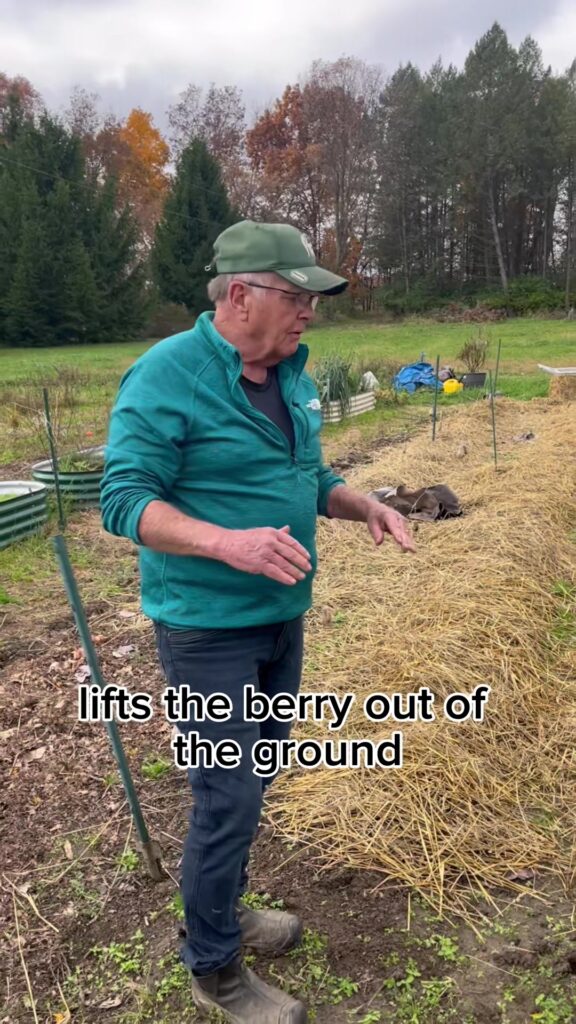
Mulch helps insulate the plants, stabilizing soil temperatures and preventing frost heave, which can push roots out of the ground.
Step 4: Container Strawberries Need Special Care
If you grow strawberries in pots or containers, they are more susceptible to freezing. Move them to an unheated garage, basement, or shed where temperatures stay just above freezing. Alternatively, bury the containers in the ground or surround them with insulating materials like straw or leaves.
Step 5: Spring Wake-Up
As temperatures warm in early spring and danger of hard frost has passed, remove most of the mulch to allow sunlight and air to reach the plants. Keep a light layer in place to help suppress weeds and retain moisture.
Your strawberry plants will soon begin to grow new leaves and shoots. This is the perfect time to fertilize lightly and water regularly to kick-start the growing season.
Bonus Tips for Healthy Plants
- Rotate your strawberry patch every 3–4 years to prevent disease buildup.
- Thin overcrowded plants in the spring to improve airflow and berry size.
- Consider planting new runners every couple of years to maintain productivity.
Final Thoughts
Overwintering strawberries doesn’t require much, but it makes a huge difference. With a simple mulch layer and a bit of seasonal care, your plants can survive the winter and produce sweet, juicy berries for seasons to come. This gardening hack is a must for anyone serious about organic gardening and building a sustainable backyard homestead. Give your strawberries the winter care they deserve—and they’ll reward you tenfold in the spring!